Okay, so listen up. This isn’t, like, *the* official Publix recipe or anything crazy like that. Nobody outside of their bakeries knows the real secret sauce, right? But man, have I tried to get close! This recipe, well, it’s the one I keep coming back to. It reminds me of picking up one of those iconic cakes form the store for a birthday or just, you know, a Tuesday because why not?
Why You’ll Wanna Make This
Honestly? Because it’s *good*. Like, really, really good. My kids practically inhale it, and my husband always asks if I ‘got it form the store,’ which is about the highest praise a home cook can get, right? I make this when I need a guaranteed win, when someone needs cheering up (chocolate!), or frankly, when I’m just craving that specific kind of moist, rich chocolate cake that isn’t too fancy but feels like a warm hug. It’s surprisingly straightforward too, even if baking chocolate cakes can feel a bit finicky sometimes.
Okay, Ingredients Time!
Gather ’round, this is what you’ll need. Nothing too wild, promise:
- 2 cups All-Purpose Flour (regular stuff is fine!)
- 2 cups Granulated Sugar
- 3/4 cup Unsweetened Cocoa Powder (use the good stuff if you have it, but Hershey’s or Ghirardelli are totally fine)
- 2 tsp Baking Soda
- 1 tsp Baking Powder
- 1 tsp Salt (kosher salt, if you have it, I like it better for baking but table salt works too!)
- 2 large Eggs
- 1 cup Buttermilk (if you don’t have buttermilk, a quick fix is 1 cup milk + 1 tbsp white vinegar or lemon juice, let it sit for 5-10 mins – works like a charm!)
- 1 cup Strong Black Coffee, Hot (yep, coffee! Trust me on this one. If you absolutely HATE coffee, use hot water, but the coffee really makes the chocolate POP)
- 1/2 cup Vegetable Oil (or canola oil, whatever you have on hand)
- 1 tsp Vanilla Extract
For the Frosting: (Because what is cake without frosting?!)
- 1 cup Unsalted Butter, softened (that means leave it out on the counter for a bit!)
- 3-4 cups Powdered Sugar (depends on how thick/sweet you like it!)
- 3/4 cup Unsweetened Cocoa Powder
- 1/2 cup Milk (maybe a tiny bit more or less, you’ll see)
- 1 tsp Vanilla Extract
- Pinch of Salt
Let’s Bake This Bad Boy
- Okay, first things first, preheat your oven to 350°F (175°C). Grease and flour two 9-inch round cake pans. Seriously, grease AND flour. Nothing is worse than a cake stuck in the pan!
- In a big bowl, whisk together your dry ingredients: the flour, sugar, cocoa powder, baking soda, baking powder, and salt. Give it a good mix so there aren’t any sneaky pockets of just one thing.
- In another, slightly smaller bowl, whisk together the wet ingredients: eggs, buttermilk, oil, and vanilla extract.
- Pour the wet stuff into the dry stuff. Yeah, it’ll look a bit thick and lumpy. Don’t freak out.
- Now, carefully pour in that hot coffee (or hot water). Gently mix until *just* combined. It will be a *very* thin batter, almost like chocolate soup. This is totally normal! Don’t overmix, or you’ll end up with tough cake. Nobody wants that.
- Divide the batter evenly between your two prepared pans. Try to pour it in slowly so you don’t make a huge mess. This is where I usually sneak a fingerful of batter, don’t tell anyone.
- Bake for 30-35 minutes, or until a wooden skewer or toothpick inserted into the center comes out clean.
- Let the cakes cool in the pans for about 10 minutes. This part is important! If you try to flip them out too soon, they might break. After 10 minutes, carefully turn them out onto a wire rack to cool completely. Like, totally cool. You don’t want to frost a warm cake unless you like chocolate soup mess.
Whipping Up That Frosting
While the cakes are cooling (or even while they’re baking), you can make the frosting.
- In a large bowl, beat the softened butter until it’s nice and creamy and fluffy using an electric mixer.
- Sift the powdered sugar and cocoa powder together in a separate bowl. Sifting helps avoid lumps, which are the enemy of smooth frosting.
- Gradually add the powdered sugar/cocoa mixture to the butter, alternating with the milk. Start slow, or powdered sugar will go EVERYWHERE. Been there, done that, wore the t-shirt.
- Add the vanilla extract and salt.
- Beat until everything is well combined and smooth. If it’s too thick, add a tiny splash more milk. Too thin? Add a little more powdered sugar. You want it spreadable, but not runny.
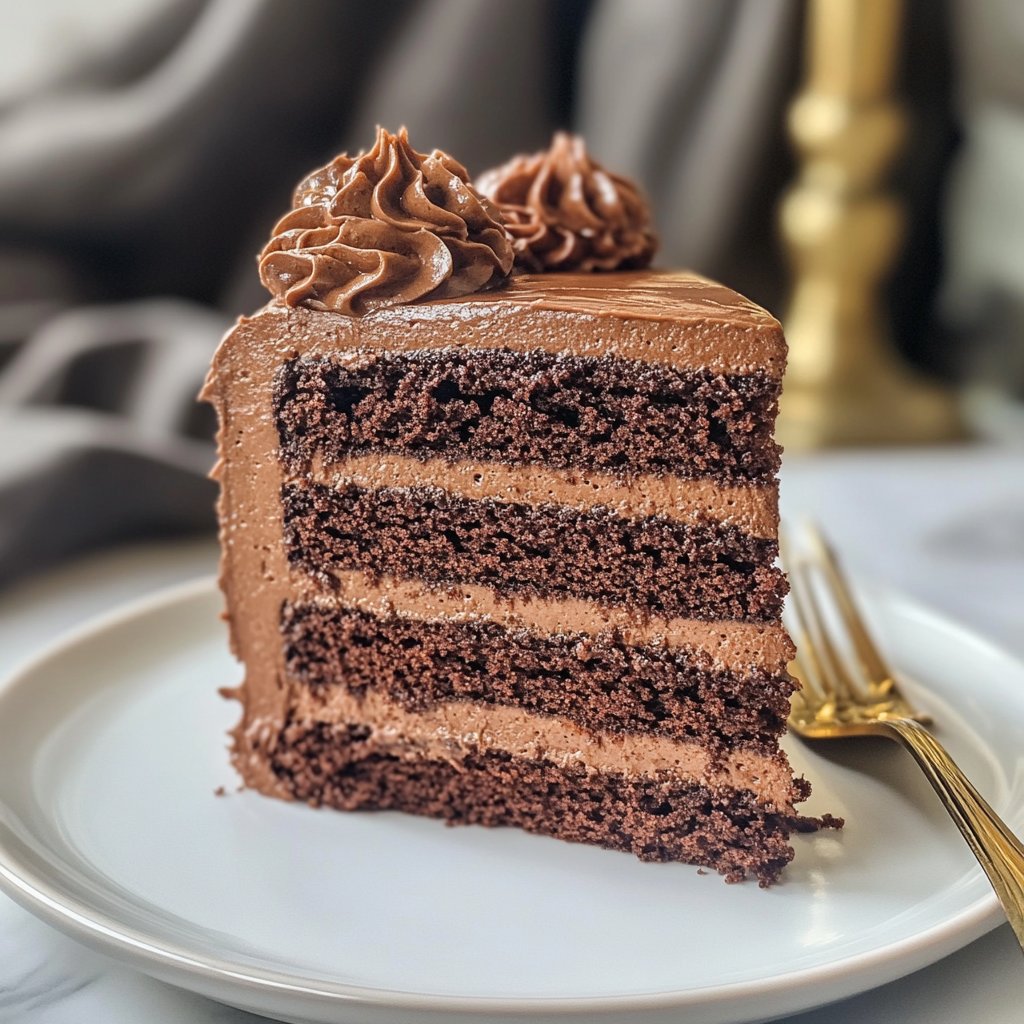
Putting it All Together
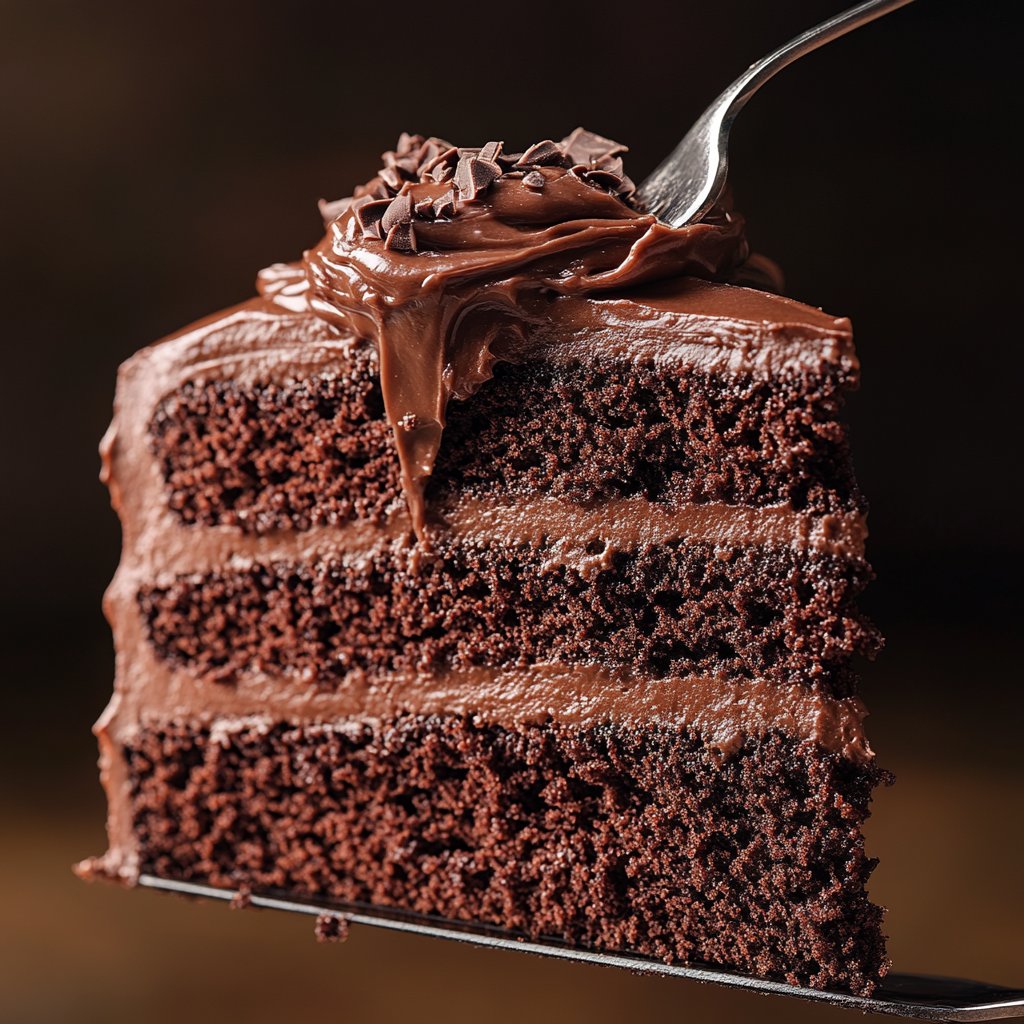
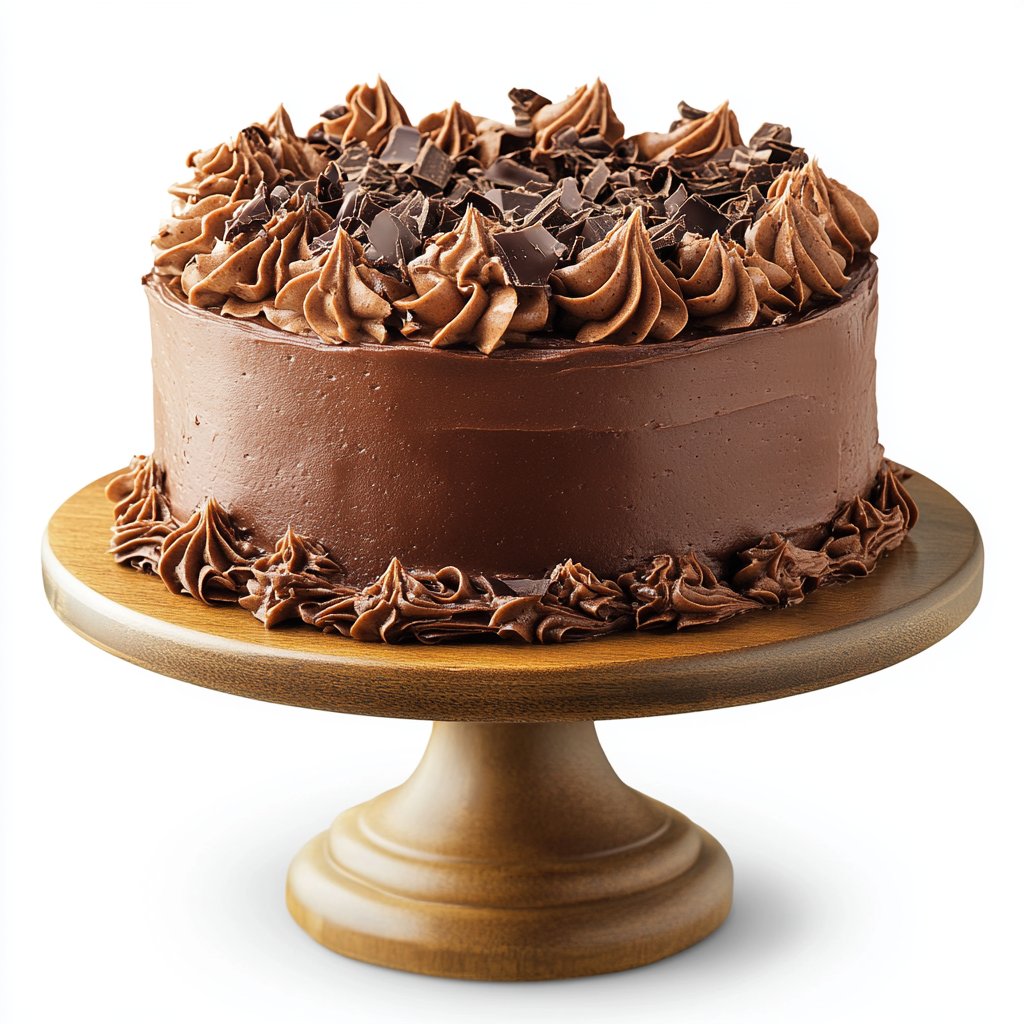
Once the cakes are completely cool, place one layer on your serving plate or stand. Plop a generous amount of frosting on top and spread it evenly. Carefully place the second layer on top. Now, cover the whole thing – top and sides – with the rest of the frosting. Make it look pretty, or rustic, or whatever makes you happy! A spatula or even a butter knife works just fine.
Some Notes Form My Kitchen
- The coffee really does intensify the chocolate flavor without making it taste like coffee. Seriously, try it!
- Measuring cocoa powder accurately is key. Don’t just scoop and level; gently spoon it into the measuring cup and then level it off.
- Don’t overmix the batter! Once you add the wet to the dry, just mix until the streaks disappear. Overmixing develops gluten and makes cakes tough.
- Letting the cakes cool completely before frosting is non-negotiable if you want a clean job.
Stuff I’ve Tried (Some Good, Some, Eh…)
Okay, so I’ve messed around with this recipe a bit. I once tried using all oil instead of butter in the frosting thinking it would be easier, and it just wasn’t the same. Too greasy, you know? Stick to butter for the frosting!
But I *have* had success using different extracts! Almond extract instead of vanilla in the cake is really nice, or even a tiny bit of peppermint extract for a holiday twist. Swapping out some of the cocoa for dark cocoa powder gives it a deeper, almost black color, which is kinda cool.
What You’ll Need (Equipment-wise)
You don’t need a ton of fancy stuff. A couple of 9-inch round cake pans, mixing bowls, measuring cups and spoons, a whisk, a spatula, and an electric mixer for the frosting are pretty standard. If you don’t have an electric mixer, you *can* whisk the frosting by hand, but prepare for an arm workout!
Storing Your Masterpiece
Keep any leftover cake (ha! leftovers!) in an airtight container at room temperature for a couple of days. If you want it to last longer, pop it in the fridge. Or, you can wrap individual slices really well and freeze them for a quick treat later. Though honestly, in my house, a publix chocolate cake copycat never lasts more than 24 hours. It’s just too tempting.
How I Like to Serve It
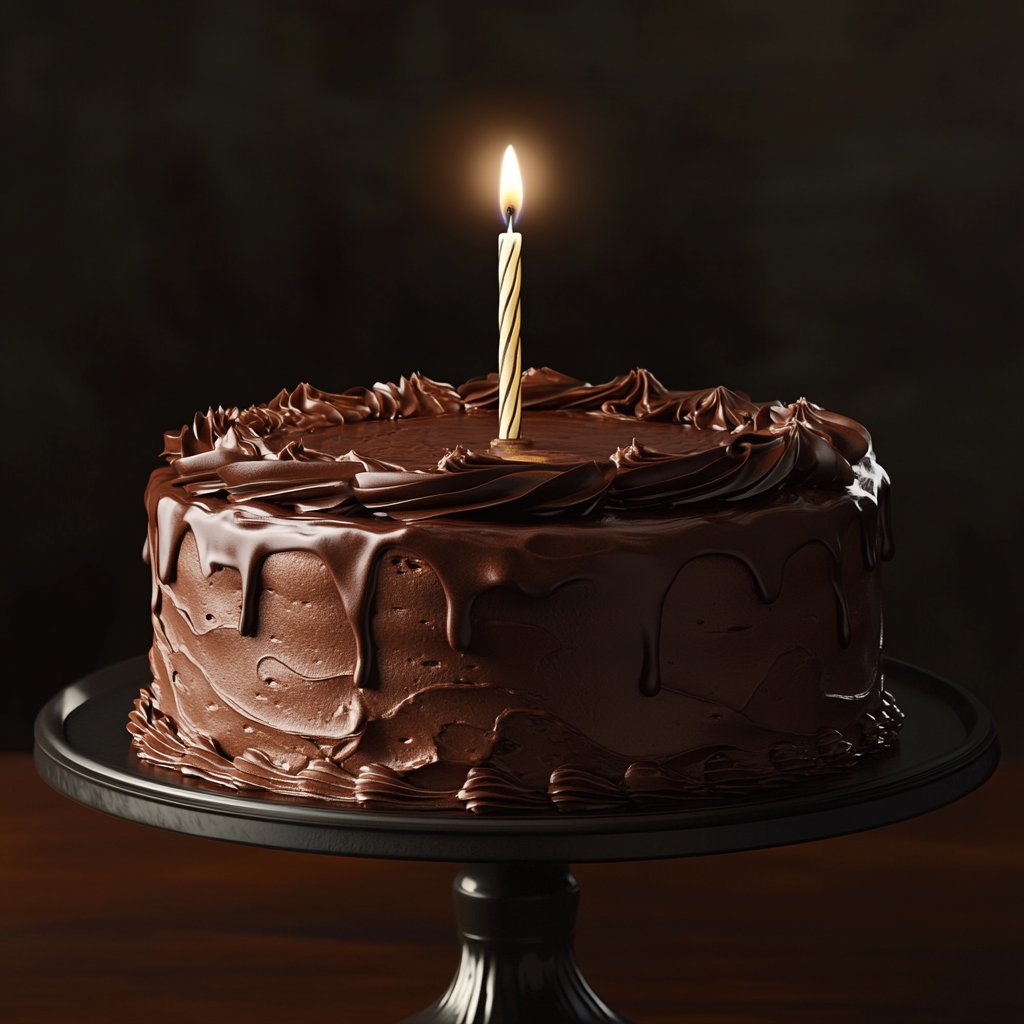
Plain is perfect. Just a slice and a glass of cold milk. Simple. But sometimes, if we’re being fancy, a dollop of whipped cream or a scoop of vanilla ice cream is pretty epic. For birthdays, we just stick some candles in it and call it a day! It’s really versatile, whatever feels right.
Learned This the Hard Way (Pro Tips)
- Don’t substitute the buttermilk with regular milk unless you do the vinegar/lemon juice trick. It really helps with the texture.
- I once tried rushing the cooling step and the cake completely fell apart when I flipped it. Patience is a virtue, especially with cake!
- Make sure your butter is *actually* soft for the frosting, not melted. Soft means it gives when you poke it.
- Don’t crowd your oven. Bake the layers on the same rack if possible, or swap them halfway through.
FAQs, Because You Might Be Wondering…
Q: Can I make this as cupcakes?
A: Oh yeah, totally! Just fill cupcake liners about two-thirds full and bake for less time, probably around 18-22 minutes. Keep an eye on ’em!
Q: Why coffee? It sounds weird!
A: I know, right?! But trust me, the coffee enhances the chocolate flavor like nothing else. It dissolves the cocoa really well too. The cake won’t taste like coffee, pinky promise! You can learn more about why coffee works so well in chocolate baking from folks like King Arthur Baking here.
Q: My frosting is too stiff/runny. Help!
A: Don’t panic! Too stiff? Add milk a tiny bit at a time (like, a teaspoon). Too runny? Add powdered sugar a tablespoon at a time. Beat well after each addition until you get the right consistency. Sometimes humidity affects things, it’s not you, it’s the air!
Q: Can I use cake flour instead of all-purpose?
A: You can, but you might need to adjust the amount slightly. Cake flour has less protein, which can make for a slightly more tender cake, but honestly, this recipe is pretty forgiving with standard AP. I usually just stick to what’s easiest!
Q: This isn’t EXACTLY like Publix! What gives?
A: Okay, okay, I hear ya! Like I said, it’s a copycat, not the actual thing form their secret recipe vault. Bakers keep their secrets, you know? But this recipe gets pretty darn close in flavor and texture, and it’s made with love in your own kitchen. That counts for a lot! If you really want to get into baking science for a copycat, sites like Serious Eats sometimes do deep dives that might help.
So there you have it. My go-to formadelectable treat that totally channels those Publix vibes. Hope you try it and love it as much as we do!