Hey there, baking buddies! So, confession time. I was just scrolling through Pinterest the other day, you know how it is, and saw some of the MOST adorable cupcake clipart. Seriously, like little sugary works of art that just make you wanna grab an apron and get in the kitchen. They looked so happy, sitting there all frosted and sprinkled, and suddenly I *had* this intense craving to bake some actual, real-life cupcakes. Not the digital kind, the yummy, smell-up-your-house kind!
This recipe is my absolute favourite. It’s been tweaked over the years, a little bit of this, a little bit of that, and it always turns out proper lovely. No faffing about, just good honest cupcakes that taste like happy memories.
Why I Bother Baking These (and Why You Should Too)
Honestly? I make these when I need a little pick-me-up. Or when the kids have a school fete and I volunteered (again, sigh) for contributions. My family goes absolutely *crazy* for these because they’re just so light and fluffy. Unlike some dense bricks I’ve made in the past, ha! (Don’t even ask about the time I mistook salt for sugar. Big oof.) They’re also brilliant blank canvases if you get really inspired by some fancy cupcake clipart and wanna go wild with decorations. Plus, the smell while they’re baking? Incredible.
What You’ll Need (The Bits and Bobs)
Okay, here’s the lineup. Nothing too exotic, promise.
- 115g (about half a cup) softened unsalted butter. Make sure it’s genuinely soft, not melted!
- 115g (about half a cup) caster sugar. Granulated is fine too if that’s all you have, but caster gives a finer crumb, I think.
- 2 large eggs, free range if you can, at room temp. This really does make a difference, trust me.
- 1 tsp vanilla extract. Use the real stuff if possible, imitation just isn’t the same, its a shame!
- 115g (just under a cup) self-raising flour. Sifted! Don’t skip the sifting, it helps with that lovely light texture.
- 1-2 tbsp milk (whole milk is best). You might not need it all, or you might need a splash more, depending on your batter consistency.
For the basic buttercream (because what’s a cupcake without frosting?!):
- 150g (a bit over half a cup) softened unsalted butter
- 300g (about 2 and a half cups) icing sugar (powdered sugar), sifted
- 1-2 tbsp milk
- ½ tsp vanilla extract
Sometimes, if I’m feeling lazy or just didn’t plan ahead, I’ll use one of those tub frostings form the shop. They’re not as good as homemade, but hey, sometimes speed is key! My mum always swore by Lyle’s Golden Syrup in her cakes, but honestly, any good brand of sugar works fine here.
Alright, Let’s Bake! (The How-To)
Preheat that oven to 180°C (160°C fan/Gas Mark 4) and pop 12 paper cases into a muffin tin. Don’t grease the tin itself unless you’re skipping cases, which I don’t recommend, it’s just messier.
- Get a big bowl and cream the softened butter and sugar together until it’s pale and fluffy. Like, *really* pale and fluffy. This takes a few minutes with an electric mixer, or a good arm workout by hand. This is where you build the structure!
- Crack those eggs into a separate small bowl, add the vanilla, and lightly whisk them up.
- Add the whisked egg mixture to the butter and sugar a little at a time, beating well after each addition. If it looks like it’s starting to curdle a bit, don’t panic! Just add a tablespoon of the sifted flour and keep mixing. It usually sorts itself out.
- Sift half of the self-raising flour into the bowl. Fold it in gently with a spatula or a large metal spoon. Don’t beat it! Folding keeps the air you just creamed in.
- Add about half of the milk, fold that in.
- Sift in the rest of the flour, fold gently until *just* combined. Don’t overmix, that’s the secret to tender cupcakes. A few small lumps are okay!
- If the batter seems a bit thick or stiff, add the rest of the milk, or even another splash if needed, until it’s a dropping consistency – it should fall off the spoon easily. This is where I usually sneak a tiny taste… gotta make sure it’s not poisonous, right? 😉
- Divide the batter evenly between the 12 cases. I find an ice cream scoop works brilliantly for this, keeps them all roughly the same size so they bake evenly. Fill them about two thirds full.
- Bake for 18-22 minutes. They’re done when they’re golden brown, spring back gently when you touch the top, and a skewer inserted into the centre comes out clean. Don’t worry if they look a *bit* wonky at this stage – they usually do!
- Let them cool in the tin for a couple of minutes, then carefully transfer them to a wire rack to cool completely. Completely! Trying to frost warm cupcakes is a disaster waiting to happen.
While they cool, make the buttercream! Beat the softened butter in a bowl until creamy. Gradually beat in the sifted icing sugar, adding a tablespoon of milk and the vanilla extract part way through. Keep beating until it’s light and fluffy. Add another splash of milk if needed to get the right consistency for piping or spreading.
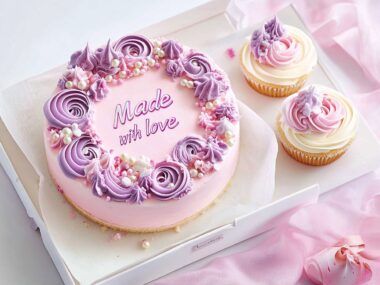
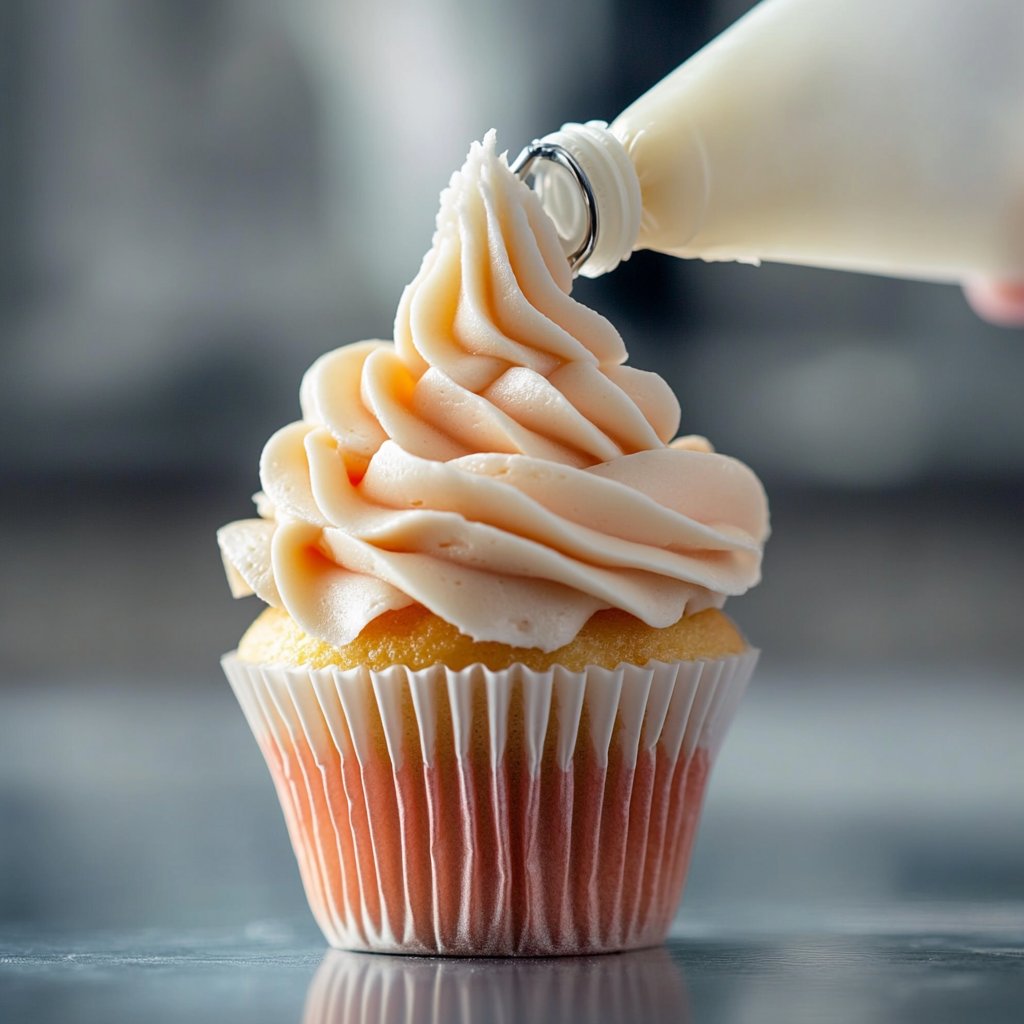
Once the cupcakes are totally cool, go wild with the frosting! Pipe it high like those gorgeous cupcake clipart examples, or just spread it on with a knife. Add sprinkles, edible glitter, whatever floats your boat!
Little Discoveries Along the Way (My Notes)
I learned the hard way that room temperature ingredients really are important. Cold eggs and butter just don’t cream properly. Also, investing in a cheap set of kitchen scales was a game changer form me; measuring flour by volume is just too variable!
Let’s Get Creative! (Variations I’ve Tried)
You can totally mess around with this base recipe. Swirl in a tablespoon of cocoa powder with the flour for chocolate cupcakes. Add lemon zest for a zesty version. For frosting, melt some chocolate and beat it into the buttercream for chocolatey goodness. I once tried adding mashed banana to the batter but it made them a bit heavy and somehow… grey? Yeah, wasn’t my finest moment.
Tools I Use (or Manage Without)
An electric mixer is really helpful for creaming the butter and sugar and making the buttercream, it saves your arm! But you can totally do it by hand with a whisk and a wooden spoon, just takes longer and more elbow grease. Mixing bowls, a sieve, a muffin tin, paper cases, measuring scales, measuring spoons, a wire cooling rack, and something to mix with are the essentials. A piping bag and nozzles are great for fancy frosting like you see in cupcake clipart, but a knife or spatula works perfectly fine for spreading!
Keeping Them Fresh (Sort Of)
Once they’re cool (and preferably frosted), store them in an airtight container at room temperature. They’re best eaten within 1-2 days. Though honestly, in my house they never last more than a day! Little hands seem to find them magically.
How I Serve ‘Em
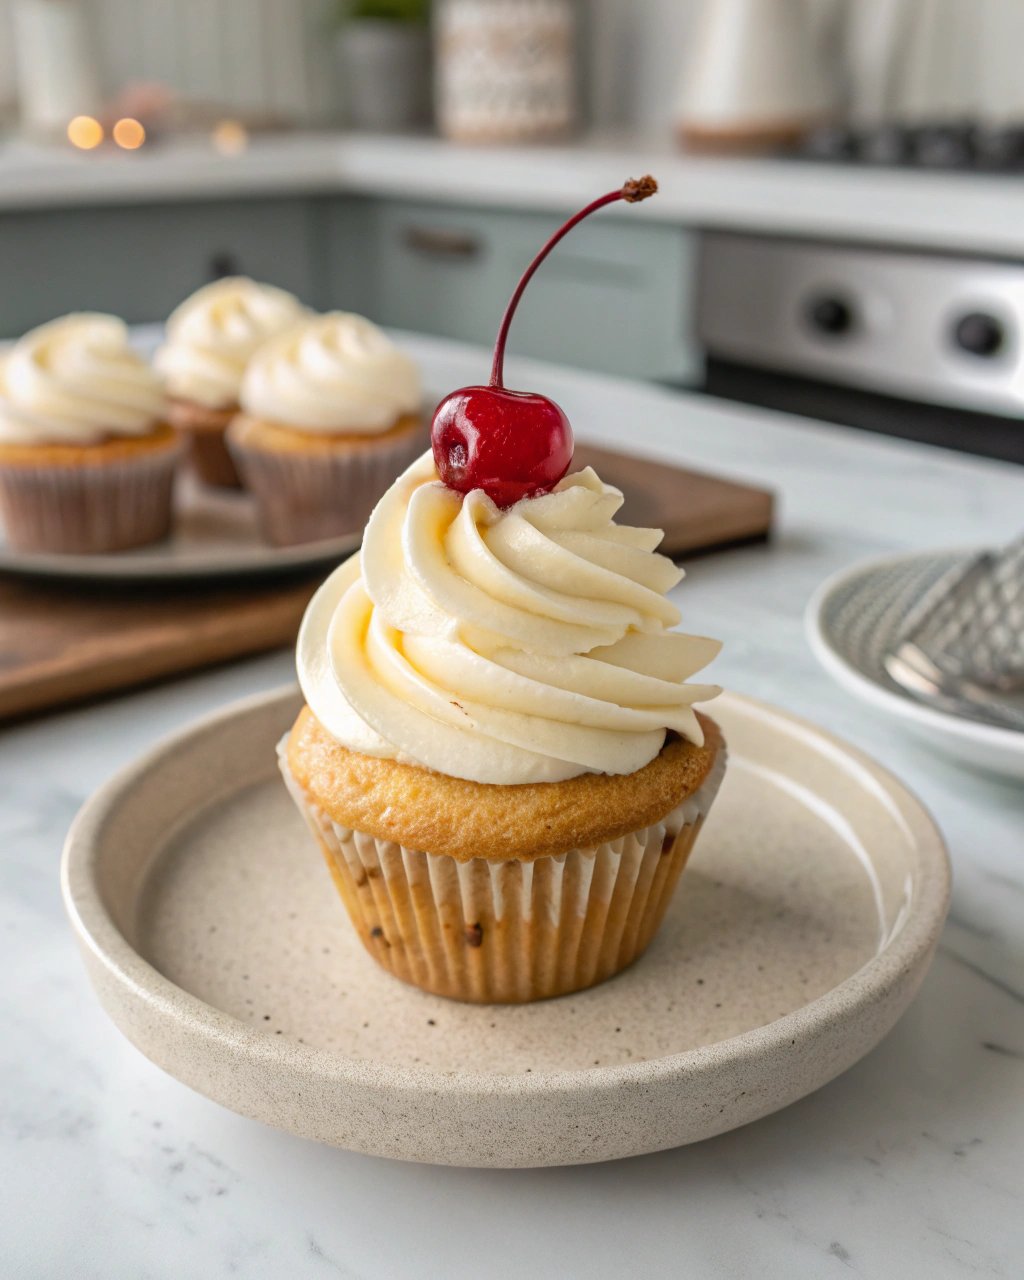
Freshly baked and cooled, usually with a good thick swirl of buttercream. Sometimes I’ll add a cherry on top, or if it’s a special occasion, theme them up! Like tiny edible versions of cute cupcake clipart. A nice cuppa tea goes perfectly with one (or two!).
Lessons Learned the Hard Way (Pro Tips)
Okay, my biggest tip: DO NOT OVERMIX the batter once the flour goes in. Seriously. I once tried rushing this step and regretted it because the cupcakes were tough and dense. Fold gently until *just* combined. Also, make sure your oven is properly preheated. And trust your nose – when you can really smell them, they’re probably getting close to done.
Burning Questions Answered (FAQ)
Q: Can I make these gluten-free?
A: Hmm, I haven’t personally tried this recipe with gluten-free flour, so I can’t say for sure. You’d likely need to adjust the liquid and maybe add a binder like xanthan gum. Might be better to find a recipe specifically developed for GF!
Q: My frosting is too runny/stiff! Help!
A: If it’s too runny, beat in more sifted icing sugar a tablespoon at a time. Too stiff? Beat in a tiny splash more milk (literally half a teaspoon at a time!) until it’s right. Patience is key here!
Q: Can I freeze these?
A: You can freeze the *unfrosted* cupcakes once they’re completely cool. Wrap them well in cling film then foil or pop them in a freezer bag. Thaw at room temp. I wouldn’t freeze them *with* the buttercream though, it can mess up the texture. You can freeze buttercream separately too! Check out BBC Good Food, they have some good tips on freezing here.
Q: Where do you get inspiration for decorating?
A: Oh, everywhere! Sometimes form other bakers online, sometimes just wandering the baking aisle, and honestly, seeing fun, vibrant cupcake clipart is a huge source of ideas for colours and little details! Pinterest is great for searching for ideas too, you can find tons there.
Hope you give these a go! Happy baking!
If you’re looking for other baking adventures, check out my (slightly messy) guide to my favourite chocolate chip cookies too!