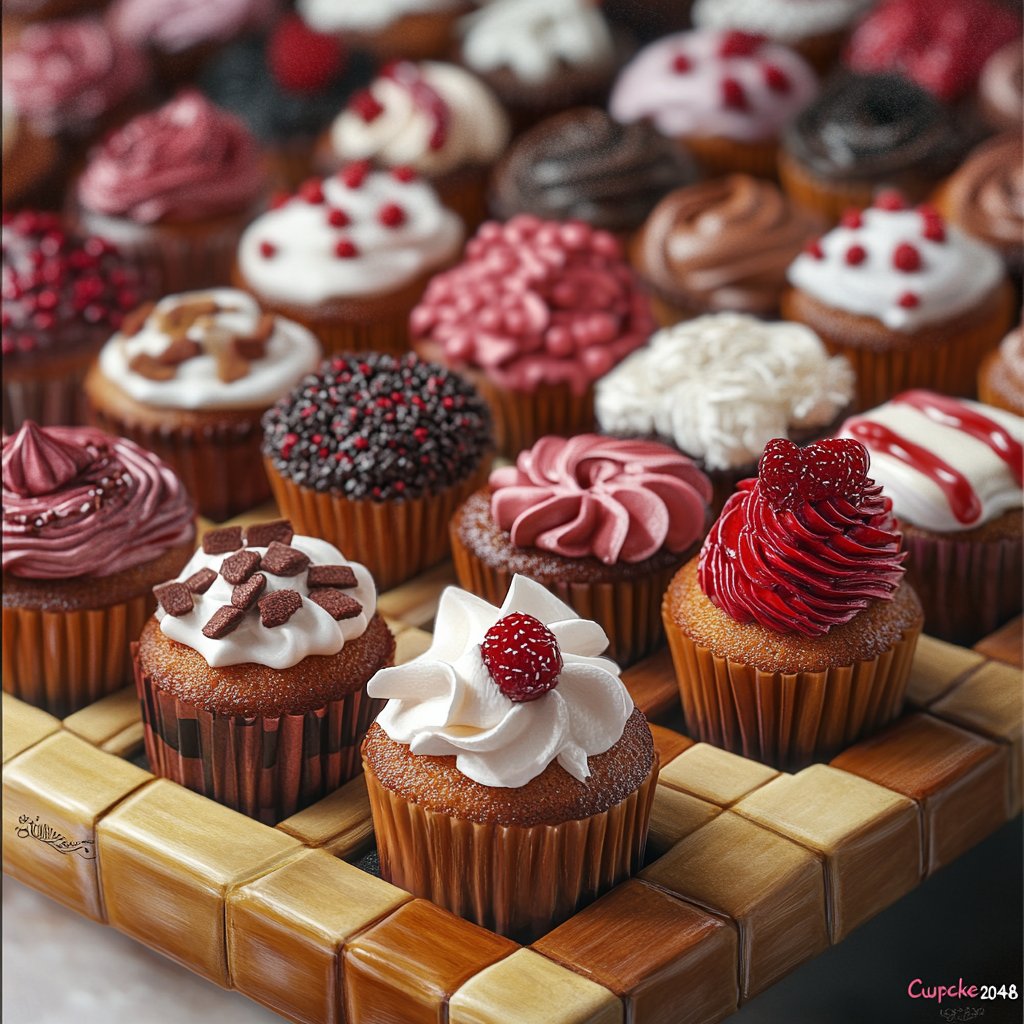
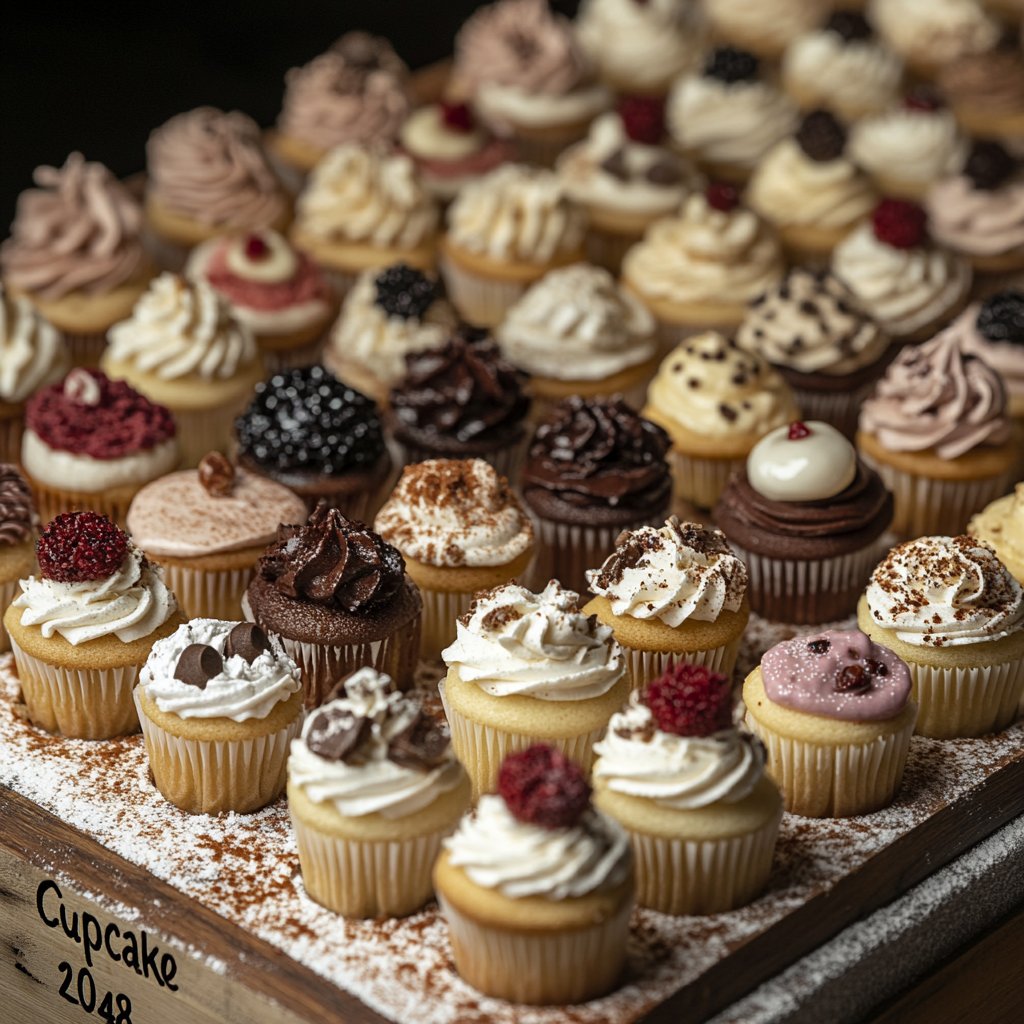
Okay, Let’s Talk Cupcake 2048
Hey baking buddies! So, you wanna try making the famous (or infamous, depending on how many you plan to eat) Cupcake 2048? Honestly, the first time I even *heard* of these I was skeptical. Sounded complicated, right? Like you had to, I dunno, combine ingredients until they magically leveled up or something silly like that, haha. Turns out, they’re just ridiculously rich, layered chocolate cupcakes that feel like an achievement when you nail ’em. And trust me, you totally can! I remember trying a version at a little bakery down the street form me once and being completely blown away. Knew I had to figure out how to make them at home. And after a few… interesting experiments (we don’t talk about the lava incident), I think I’ve finally got it.
Why I Keep Coming Back to This Recipe
Oh man, where do I even start? I make this Cupcake 2048 when I seriously need to impress someone, or frankly, just treat myself! My family goes absolutely bonkers for these because they aren’t just a cupcake, they’re an *experience*. That hidden gooey bit in the middle (yep, there’s a surprise!) and the super moist cake? It’s a winner every time. Plus, mastering them feels pretty darn good, not gonna lie. (Though sometimes I still mess up the frosting consistency, sigh.) They’re kinda my go-to for birthdays or when someone’s having a rough week and needs a serious chocolate hug.
Stuff You’ll Need (Ingredients!)
Okay, here’s the lineup. Try to use good quality cocoa powder if you can, it really does make a difference. My mom always swore by Hershey’s Special Dark, but honestly, whatever decent stuff you have will work just fine!
For the Cupcakes:
- 1 and 3/4 cups (about 220g) all-purpose flour
- 3/4 cup (about 65g) unsweetened cocoa powder
- 1 and 1/2 teaspoons baking powder
- 3/4 teaspoon baking soda
- 1 teaspoon salt
- 2 large eggs, at room temperature
- 1 and 3/4 cups (350g) granulated sugar
- 1 cup (240ml) milk (any kind is usually fine, but whole milk is nice)
- 1/2 cup (120ml) vegetable oil (or melted unsalted butter, I switch depending on my mood)
- 2 teaspoons vanilla extract
- 1/2 cup (120ml) boiling water
For the Ganache Filling (the ‘level up’ part!):
- 4 ounces (about 115g) good quality semi-sweet chocolate, finely chopped (chocolate chips work too, just chop ’em smaller)
- 1/2 cup (120ml) heavy cream

For the Frosting:
- 1/2 cup (115g) unsalted butter, softened
- 1 teaspoon vanilla extract
- 2 cups (about 240g) powdered sugar
- 2-4 tablespoons milk or cream (start with less, add more!)
- A pinch of salt (optional, but I like it)
Putting It All Together (The Fun Part!)
Alright, deep breaths. We got this.
- First things first, preheat your oven to 350°F (175°C). Line a 12-cup muffin tin with paper liners. You know, the cute ones!
- In a medium bowl, whisk together the flour, cocoa powder, baking powder, baking soda, and salt. Just get it all mixed up.
- In a large bowl, beat the eggs, sugar, milk, oil (or butter!), and vanilla extract together until it’s nice and combined. You can use a mixer or just a whisk and some elbow grease.
- Slowly add the dry ingredients to the wet ingredients. Mix on low speed (or by hand) until *just* combined. Don’t overmix! This is where you loose that lovely tenderness.
- Carefully pour in the boiling water. The batter will be thin now, like really liquidy. Don’t panic! This is what makes them super moist. Mix until it’s smooth.
- Divide the batter evenly among the prepared muffin cups, filling each one about two-thirds full.
- Bake for 18-22 minutes, or until a toothpick inserted into the center comes out with just a few moist crumbs (not totally clean!).
- Let the cupcakes cool in the tin for about 10 minutes before transferring them to a wire rack to cool completely. Make sure they’re totally cool before frosting, seriously! Warm frosting is a disaster waiting to happen.
While they cool, make the Ganache!
- Put the chopped chocolate in a heatproof bowl.
- Heat the heavy cream in a small saucepan or in the microwave until it’s just simmering. Don’t boil it!
- Pour the hot cream over the chocolate. Let it sit for a minute, then whisk gently until it’s totally smooth and glossy. This is where I usually sneak a taste… gotta check for quality control, right?
- Let the ganache cool until it’s thickened but still pourable. You can pop it in the fridge for 15-20 minutes, stirring occasionally.
Now, the Frosting!
- In a medium bowl, beat the softened butter until it’s creamy.
- Add the vanilla extract and mix it in.
- Gradually add the powdered sugar, alternating with the milk or cream, beating until it’s smooth and fluffy. Add just enough liquid to get the consistency you like. Sometimes I need 2 tablespoons, sometimes 4. Just eyeball it!
- If it’s too thick, add a tiny bit more liquid. Too thin? Add a little more powdered sugar. Easy peasy.
Assemble Your Cupcake 2048!
- Once the cupcakes are cool, use a small knife or a cupcake corer to scoop out a little hole in the center of each cupcake, leaving the bottom intact. Don’t go all the way through!
- Fill each hole with a spoonful of your glorious ganache. See? Layers! Levels!
- Top the cupcakes generously with frosting. You can pipe it fancy if you’re feeling ambitious (I usually don’t), or just spread it on with a knife.
- Optional but encouraged: sprinkle with some chocolate shavings or sprinkles!
Random Bits I’ve Learned Along the Way
* Using room temperature eggs and milk really does help things mix better. It’s one of those little things that feels like a faff but is worth it.
* Don’t overmix the batter after adding the dry stuff. I learned this the hard way; you end up with tough cupcakes. Sad times.
* Cooling the ganache is key. If it’s too hot, it’ll just soak into the cake instead of being a lovely filling. Patience, grasshopper.
* If your powdered sugar is clumpy, sift it! It makes the frosting so much smoother. A fine mesh sieve is your friend here. I got mine form Amazon ages ago, something like this one.
Playing Around (Variations)
I’ve messed around with these quite a bit. A white chocolate ganache filling is also incredible if you’re not a dark chocolate purist. You could also try adding a little espresso powder to the cake batter or the ganache for a mocha vibe – that’s a personal fave! One time, I tried filling them with raspberry jam instead of ganache… and it was okay, but definitely not the ‘Cupcake 2048’ experience. Kinda watery? Stick with the chocolate goo.
What You’ll Need (Equipment)
You’ll definitely want:
* Muffin tin
* Paper liners
* Mixing bowls (at least two)
* Whisk
* Measuring cups and spoons
* Cooling rack
* Small knife or cupcake corer
* Electric mixer (handheld or stand mixer) makes frosting easier, but you can do it by hand if you have to! Just be ready for an arm workout.
* Small saucepan (for the cream)

Storing These Beauties
Pop ’em in an airtight container at room temperature for 2-3 days. Honestly though, in my house they usually don’t last more than 24 hours! The ganache stays nice and gooey inside.
How to Serve ‘Em Up
Just plain is perfect! But sometimes, if I’m feeling extra fancy, I’ll put out some fresh raspberries or a little drizzle of extra ganache alongside. They’re best enjoyed with a glass of cold milk or, dare I say, a stout coffee. My grandma always insisted they needed a sprinkle of flaky sea salt right on top of the frosting, and you know what? She was right. It really amps up the chocolate.
Pro Tips (Learn From My Mistakes!)
* I once tried rushing the cooling step before filling and frosting, and the ganache just melted everywhere. Total mess! Patience is key, I promise.
* Measure your dry ingredients properly. Spoon the flour into the measuring cup and level it off, don’t scoop directly from the bag. This helps prevent dense cakes. This King Arthur Baking article explains it way better than I can.
* Don’t overbake! Start checking at the lower end of the time range. Dry cupcakes are no fun.
Hey, Got Questions?
* **Can I make these gluten-free?** Hmmm, I haven’t tried a GF version of *this* specific recipe, but I bet you could adapt it using a good GF all-purpose blend! You’d need to experiment a bit though.
* **My ganache seize up! Help!** Oh no! It probably got too hot or maybe a drop of water got in. Try gently warming it again over a double boiler and whisking *slowly*. Sometimes adding a tiny bit more hot cream helps rescue it.
* **How far ahead can I make these?** You can bake the cupcakes a day ahead and store them airtight. Make the ganache and frosting the day you plan to fill and frost them for the best texture. Or, you could bake the cakes, freeze them (unfrosted!), and then thaw and fill/frost later. Handy!
* **What if I don’t have semi-sweet chocolate for the ganache?** You can use dark chocolate chips, or even milk chocolate, but you might need slightly less cream if using milk chocolate as it’s sweeter and softer. Experiment a little!
* **The frosting is too stiff!** Just beat in another tablespoon of milk or cream. Keep adding a little bit at a time until it’s spreadable.
* **Cupcake corer? What’s that?** It’s a tool to easily remove the center of a cupcake for filling! If you don’t have one, a sharp paring knife works perfectly fine – just cut a circle around the center and lift it out. Save the little tops too, you can sometimes pop a tiny bit back on after filling, or just snack on ’em! Check out something like these cupcake accessories for ideas, they have corers there sometimes.
So there you have it! My take on the Cupcake 2048. Give ’em a try, have fun with it, and don’t worry if they aren’t picture-perfect the first time. Mine certainly weren’t! Happy baking!