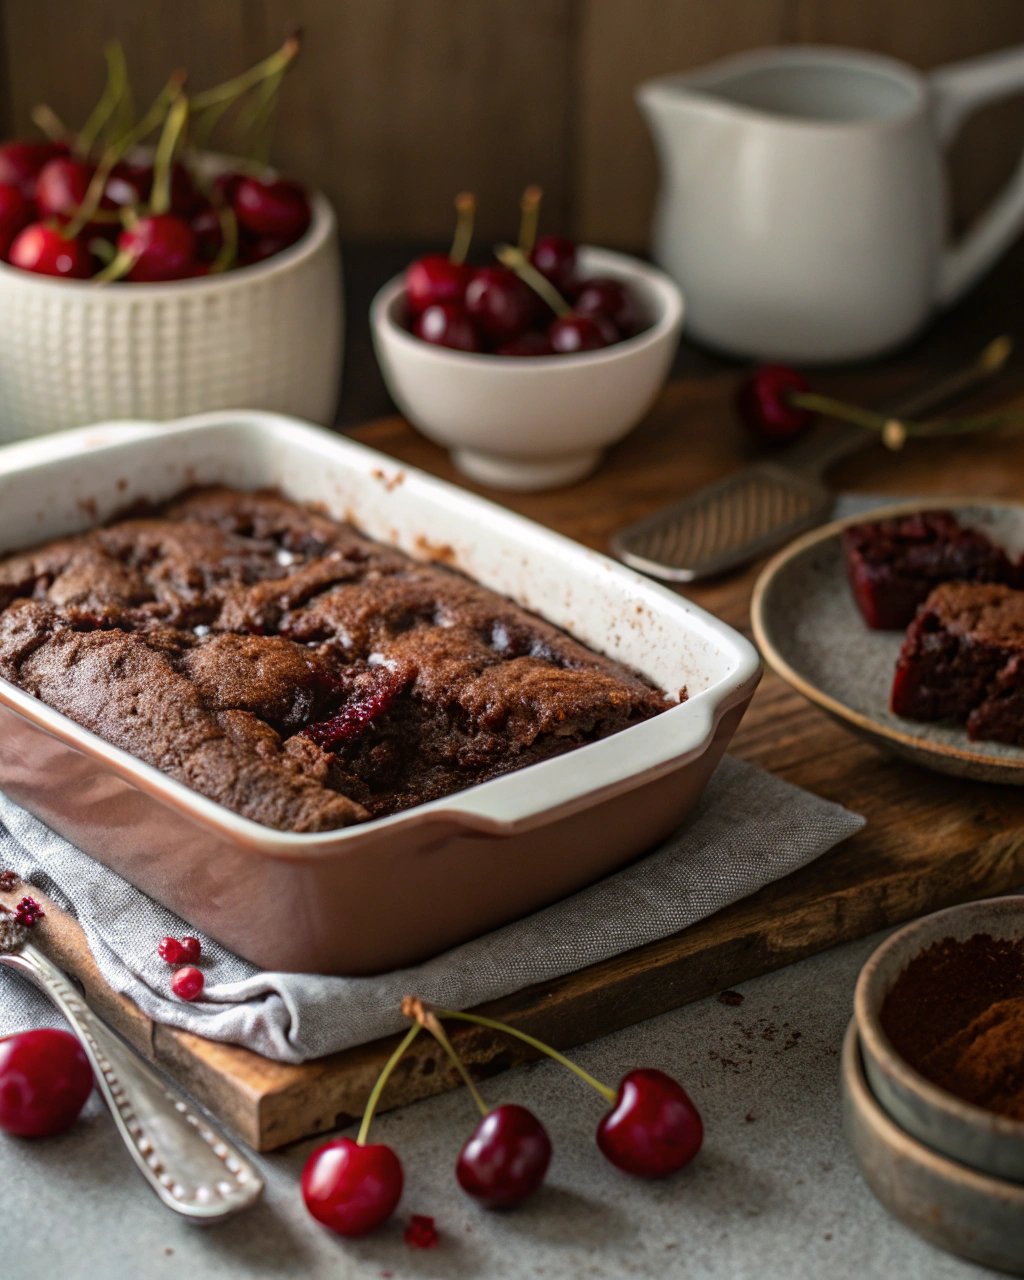
Oh My Gosh, You HAVE to Try This Chocolate Cherry Dump Cake!
Okay, so picture this: it’s Tuesday night, everyone’s knackered, and you suddenly remember you promised to bring dessert to the thing tomorrow. Panic stations, right? Well, not if you have this chocolate cherry dump cake recipe up your sleeve! The first time I made this, I was actually a bit skeptical. I mean, “dump cake” doesn’t exactly scream gourmet, does it? But my friend Sarah swore by it, and boy, am I glad I listened. It was for a family get-together, and even my super picky Aunt Carol (bless her heart) asked for the recipe. It’s become my secret weapon for when I need something impressive without, you know, actual effort. It’s so easy, my cat could probably make it if he had opposable thumbs… and wasn’t so intent on napping on the recipe cards.
Why You’ll Be Obsessed Too
Honestly, I make this chocolate cherry dump cake ALL the time. It’s my go to when I’m feeling a bit lazy (which is often, shhh!), or when I need a crowd pleaser that won’t break the bank. My kids go absolutely bonkers for it because, well, it’s chocolate and cherries and gooey cakey goodness – what’s not to love? Plus, it uses pantry staples, which is a lifesaver. I used to get so stressed about baking, especially layer cakes, they always seemed to lean a bit, like the Tower of Pisa, you know? But this? This is foolproof. (And if you, like me, sometimes forget an ingredient halfway through more complicated recipes, this one is very forgiving!)
What You’ll Need (The Shopping List, Kinda)
This is the best part – it’s so simple! You probably have most of this stuff already.
- One box of chocolate cake mix: Any kind works. Seriously. Devil’s food, chocolate fudge, dark chocolate… I usually just grab whatever’s on offer at the supermarket. My Nana swore by the fancy brands, but I honestly can’t tell the difference in a dump cake.
- Two (21 ounce, or around 595g each) cans of cherry pie filling: Don’t skimp here! Two cans make it extra fruity and delicious. I mean, it *is* a chocolate CHERRY dump cake, after all. Some folks only use one, but I think two is the magic number.
- 1/2 cup (1 stick, or 113g) of unsalted butter: And make it real butter, please! It just tastes better. I tried it with margarine once when I was desperate… it was okay, but not the same. You’ll want it cold and sliced, or melted. More on that later.
- Optional but yummy extras:
- A handful of chocolate chips (milk, semi-sweet, dark – your call!) sprinkled on top or mixed with the cherries.
- Some chopped pecans or walnuts for a bit of crunch. About 1/2 cup works nicely.
Let’s Get Baking! (It’s Barely Baking, It’s So Easy)
Alright, apron on? Or don’t, this is pretty mess-free. Mostly.
- Preheat your oven to 350°F (or 175°C). Get that out of the way. And grab a 9×13 inch baking dish. Glass, metal, ceramic, whatever floats your boat. You don’t *really* need to grease it, but a little spray won’t hurt if you’re worried about sticking. I usually just wing it.
- Dump in the cherries! Literally. Open those cans of cherry pie filling and just plop them into the bottom of your dish. Spread them out a bit so it’s an even layer. This is where I usually sneak a cherry or two. Quality control, you know?
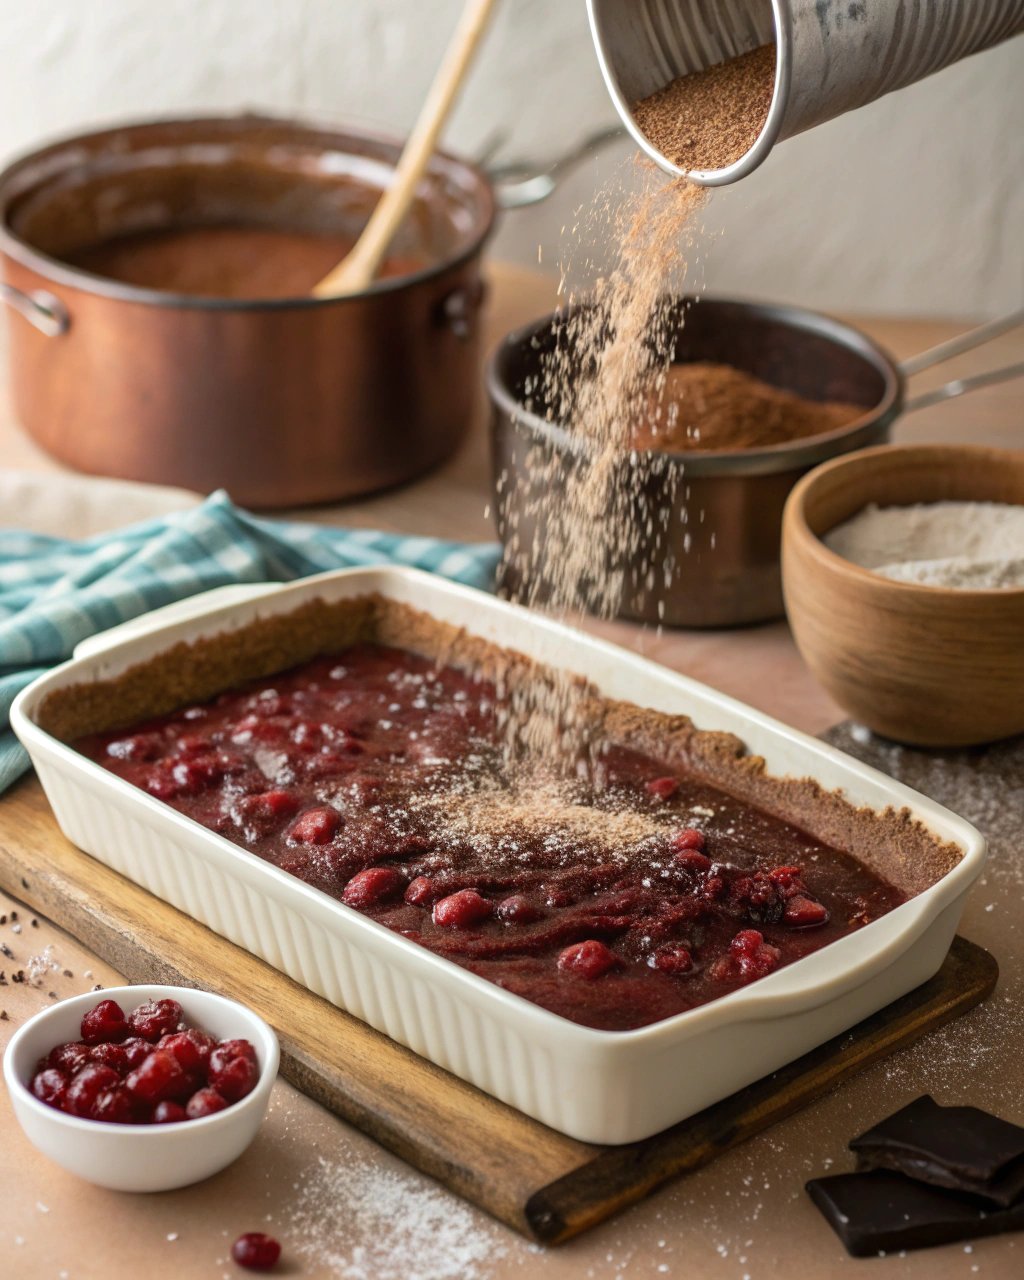
- Cake mix time! Open your box of chocolate cake mix and sprinkle it evenly over the top of the cherry pie filling. Try to cover all the cherries. Don’t press it down or mix it in! Just a nice, even blanket of dry cake mix.
- Butter it up! Now, for the butter. You have two main options here:
- Sliced: Take your cold stick of butter and slice it into thin pats. Arrange these pats all over the top of the dry cake mix. Try to cover as much area as possible. This is the classic way.
- Melted: Or, you can melt the butter and drizzle it as evenly as you can over the cake mix. Some say this is easier to get good coverage. On second thought, I usually go with the sliced method, it gives little pools of buttery goodness.
- Optional bits: If you’re using chocolate chips or nuts, sprinkle them over the top now.
- Bake it! Pop that dish into your preheated oven. Bake for about 45 to 55 minutes. You’re looking for the top to be golden brown and a bit crispy in places, and the cherry filling to be bubbly around the edges. Don’t worry if it looks a bit weird and splotchy at first – that’s just the magic happening!
- Cool it (just a bit): This is the hardest part. Let it cool for at least 15-20 minutes before you dive in. It’s molten lava hot straight form the oven, and it also needs a little time to set up properly. Trust me on this one.
A Few Little Notes From My Kitchen
- Sometimes I find the edges cook faster than the middle. If your top is getting too brown but the middle still seems super wet, you can loosely tent it with some aluminum foil for the last 10-15 minutes of baking.
- Don’t be tempted to stir everything together! The beauty of a dump cake is the distinct layers and the way the butter and cake mix create that cobbler-like topping. It’s science… or magic. Probably magic.
- This cake is pretty sweet already, so I usually stick to unsweetened or semi-sweet chocolate chips if I add them.
Fancy Some Changes? (My Little Experiments)
I love messing around with recipes, and this chocolate cherry dump cake is so forgiving!
- Different Fruit: While chocolate and cherry are a match made in heaven, I’ve tried this with a can of crushed pineapple (drained well!) swapped for one of the cherry cans. Surprisingly delicious! A friend of mine swears by peach pie filling.
- Spice it Up: A little cinnamon (maybe 1/2 teaspoon) sprinkled in with the cake mix can be lovely, especially if you’re using a more plain chocolate cake mix.
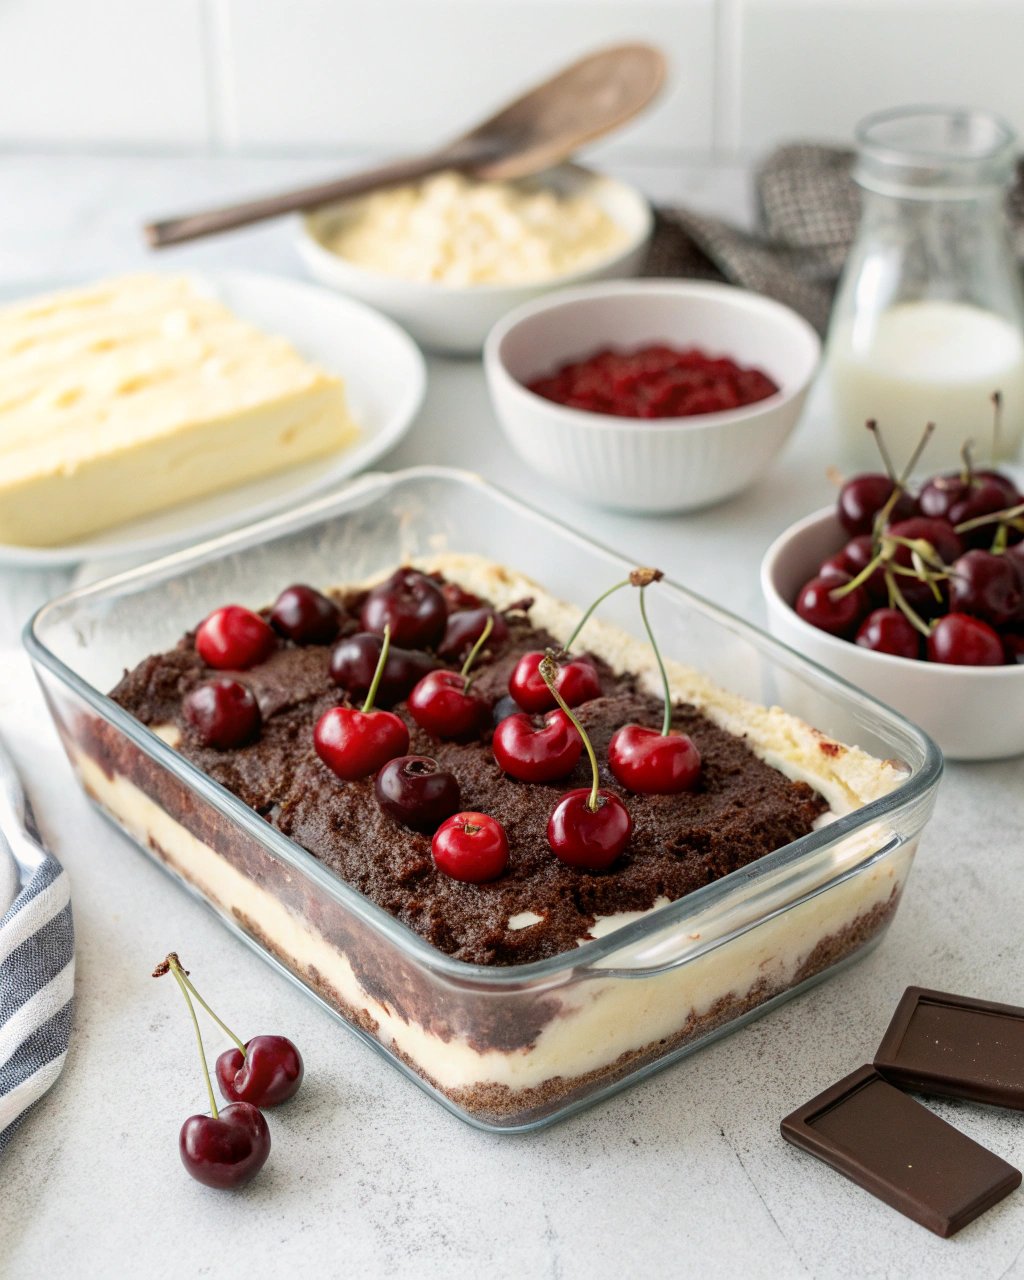
- Cream Cheese Swirl: Oh, this was a good one! I mixed an 8oz block of softened cream cheese with 1/4 cup sugar and an egg, then dolloped it over the cherries before adding the cake mix. So decadent!
- The One That Didn’t Work: Okay, confession time. I once tried using a white cake mix and adding a whole load of blue food coloring to the cherries to make some sort of patriotic thing for the 4th of July. It looked… alarming. And the flavor combo wasn’t quite right. Stick to chocolate for this one, I reckon, or maybe yellow cake mix if you’re feeling adventurous with other fruits.
By the way, speaking of kitchens, mine always looks like a flour bomb went off after any baking session, no matter how simple the recipe. It’s a skill, I tell ya! My husband just sighs and hands me a cloth. Good man. For some great cleaning tips (which I clearly need), I sometimes browse Good Housekeeping’s cleaning section – they have some gems!
What Gear Do You Need?
Not much, thankfully! That’s another reason I love this recipe.
- A 9×13 inch baking dish: This is pretty key for the quantities. Glass or metal, doesn’t matter. If you don’t have one, you could probably split it between two 8×8 inch dishes, but you’d need to watch the baking time – it’ll likely be shorter.
- Can opener: Obvious, but essential!
- A knife or a wire cheese slicer: For slicing the butter if you go that route.
- Spatula (optional): For spreading the cherries a bit. Or just use the back of a spoon.
No fancy stand mixers or anything complicated. See? Easy peasy.
How to Keep It (If You Can!)
Leftovers? What are those? Ha! Okay, on the rare occasion there is some chocolate cherry dump cake left, cover it tightly with plastic wrap or foil. It’s perfectly fine on the counter for a day or two. If it’s going to be longer than that, I’d pop it in the fridge – it’ll last 3-4 days in there. You can eat it cold (surprisingly good!) or warm it up a bit in the microwave. Though honestly, in my house, it never lasts more than a day! Those dessert gnomes are quick.
My Favorite Ways to Serve It Up
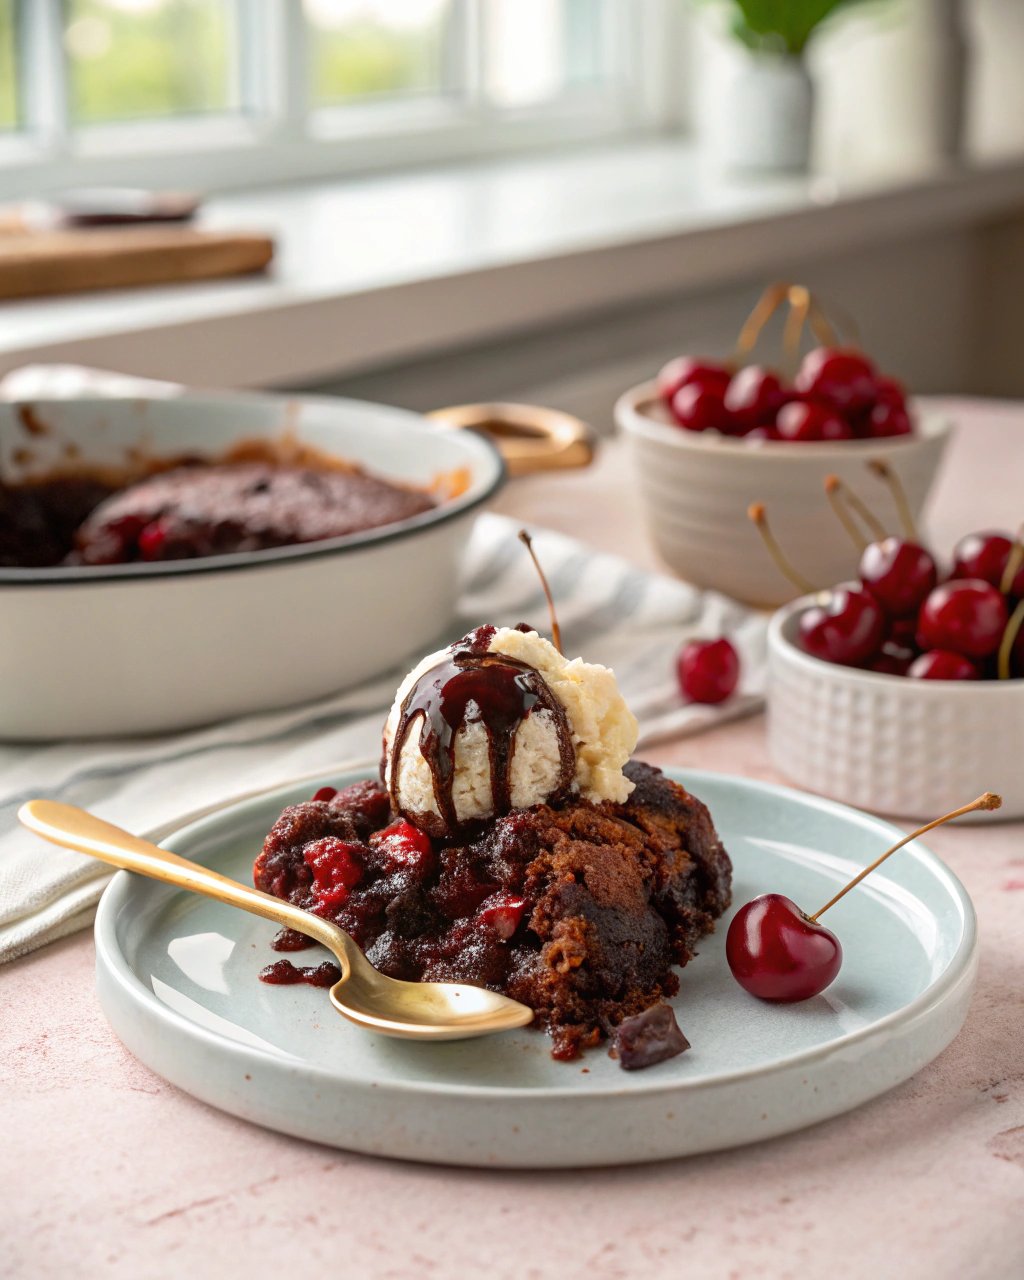
This is where it gets REALLY good. For me, this chocolate cherry dump cake *needs* to be served warm. And with a giant scoop of vanilla bean ice cream. The way the warm, gooey cake melts the ice cream… oh, it’s just perfection. That’s a non-negotiable in our family. A big dollop of freshly whipped cream is also a fantastic option if ice cream isn’t your thing (are you okay?! Just kidding!). My husband sometimes sneaks a piece cold from the fridge for breakfast the next day. I try not to judge. Much.
Trust Me, I’ve Learned These the Hard Way (Pro Tips!)
- Don’t skimp on the butter! I once tried to be ‘healthy’ and use less butter. Big mistake. The top didn’t get that lovely crispy, cobbler-y texture and was just a bit… meh. Use the full amount. It’s worth it.
- Even cake mix distribution is your friend. Try to get the dry cake mix covering the fruit fairly evenly. If you have big bare patches of fruit or massive clumps of dry mix, it won’t bake quite as nicely. It’s not rocket science, just spread it about a bit.
- Patience, young Padawan! Let it cool. I know, I know, it smells incredible and you want to dive right in. But if you try to serve it straight out of the oven, it’ll be like molten cherry lava and a soupy mess. It needs that 15-20 minutes (minimum!) to set up. I once burned my tongue so bad… learned that lesson real quick.
- If you are looking for different types of cherries to experiment with for other recipes, Cherry USA has a great guide on varieties. Though for this dump cake, pie filling is truly the easiest!
You Asked, I Answered! (FAQ Style)
I get a few questions about this recipe, so here are some quick answers!
Q: Can I use a different flavor cake mix?
A: Absolutely! Yellow cake mix is a classic for dump cakes and would be great with the cherries. Spice cake could be an interesting twist for autumn. I’ve even heard of people using lemon cake mix with blueberry pie filling. Go for it!
Q: Do I *have* to use canned pie filling? What about fresh cherries?
A: Well, canned pie filling is what makes it a super quick ‘dump’ cake. You *could* use fresh or frozen (and thawed) cherries, but you’d need to prepare them a bit. Maybe cook them down with some sugar and a bit of cornstarch to make them saucy like pie filling. It’d be more work, but probably delicious! For that authentic dump cake ease, I stick with the cans. You can find some great ideas for homemade pie fillings on sites like Allrecipes if you want to go that route another time.
Q: My cake looks really wet in the middle, or some parts are dry. What went wrong?
A: Hmm, could be a few things! Sometimes ovens have hot spots, so one part cooks faster. Make sure your butter was distributed pretty evenly over the cake mix; the melted butter and fruit juices are what hydrates the mix. It’s also possible it just needed a few more minutes in the oven, or more time to set up once out. Dump cakes are gloriously rustic, they aren’t meant to be perfectly uniform, so don’t stress too much! If it tastes good, that’s all that matters. And this chocolate cherry dump cake almost always tastes good, it’s very forgiving.
Q: Can I add nuts?
A: For sure! About 1/2 cup of chopped pecans or walnuts sprinkled over the cake mix before the butter would be lovely. It adds a nice crunch.
So there you have it! My not-so-secret anymore chocolate cherry dump cake recipe. Go forth and bake (or, well, dump) and prepare for the compliments to roll in. Enjoy!