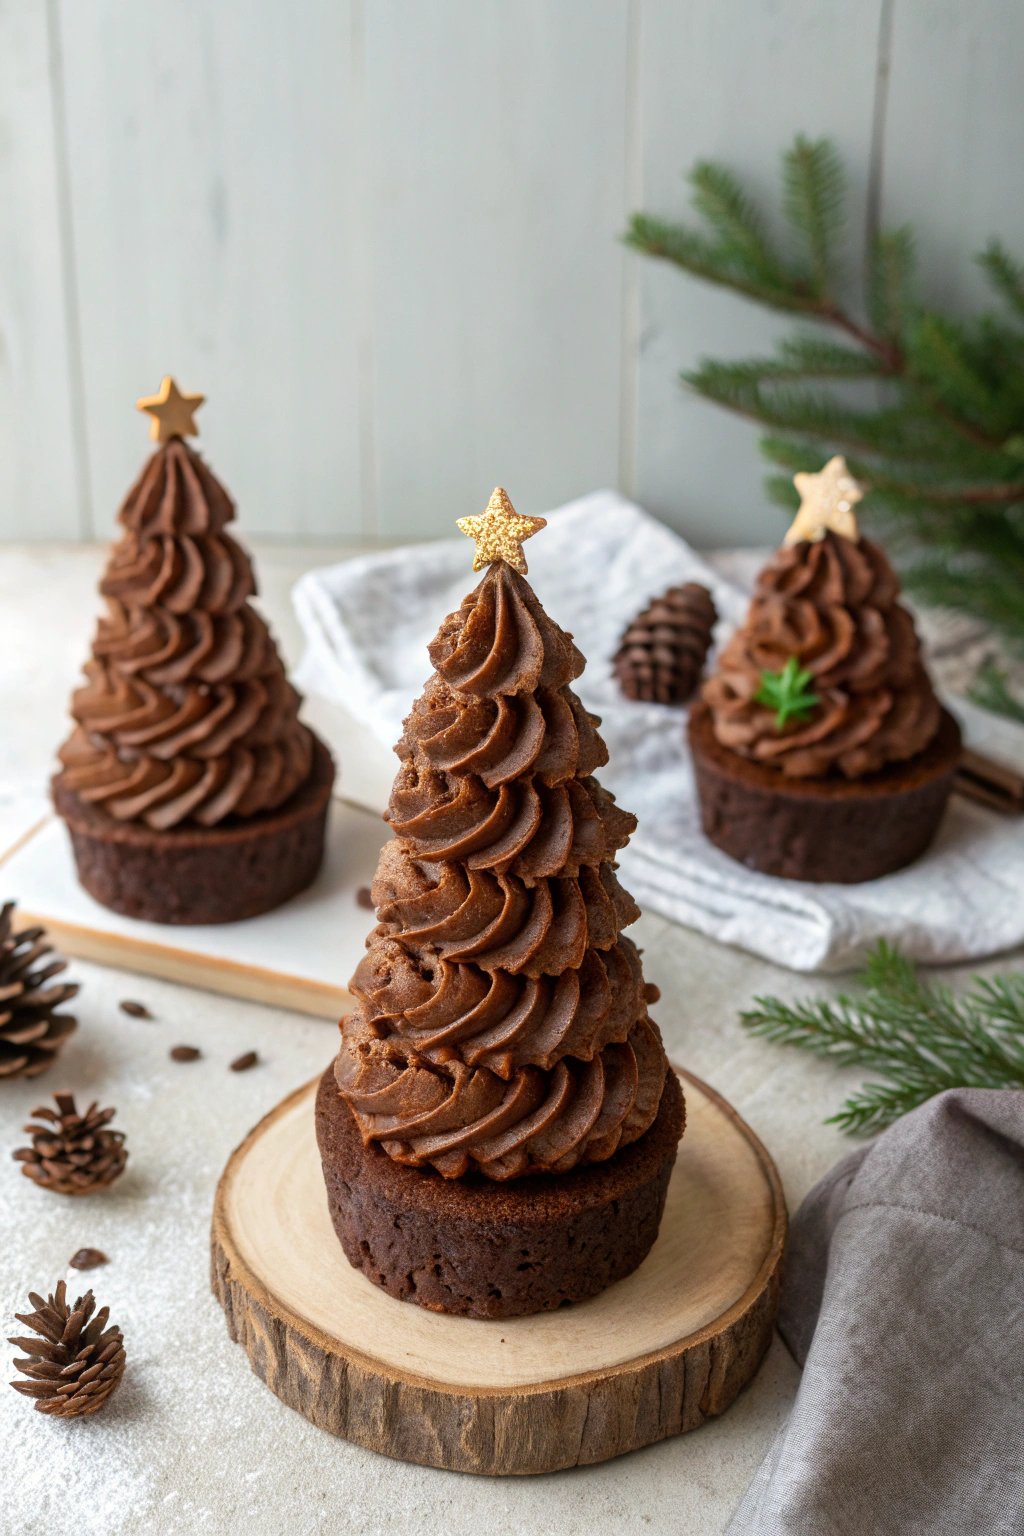
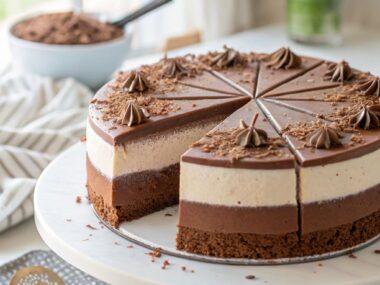
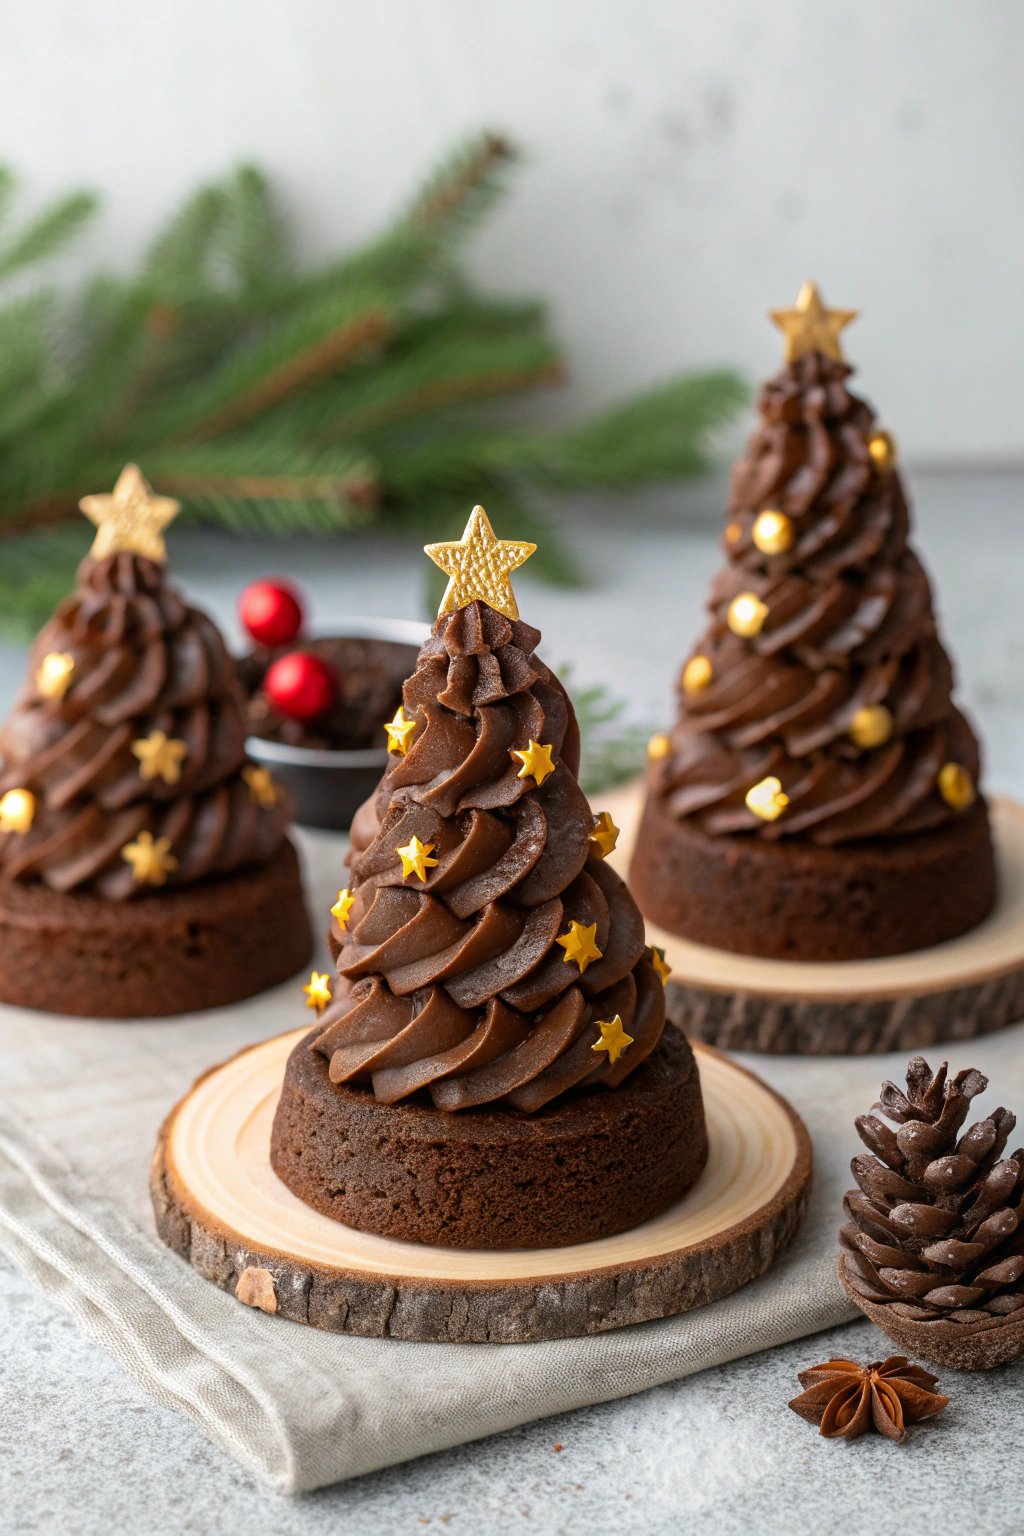
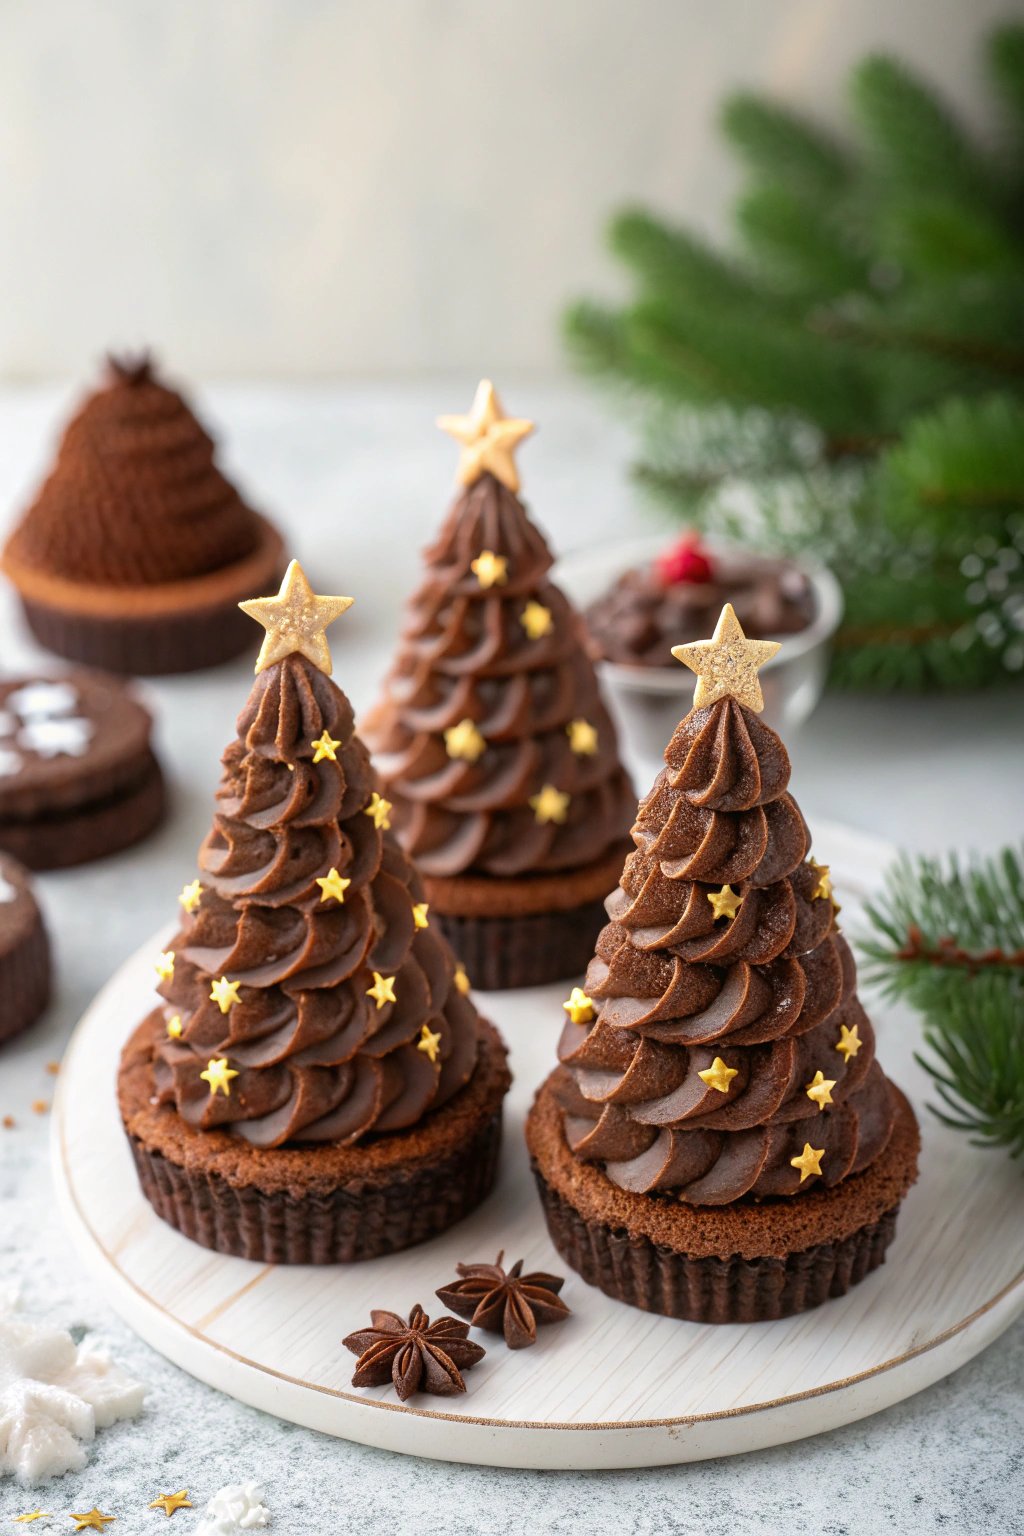
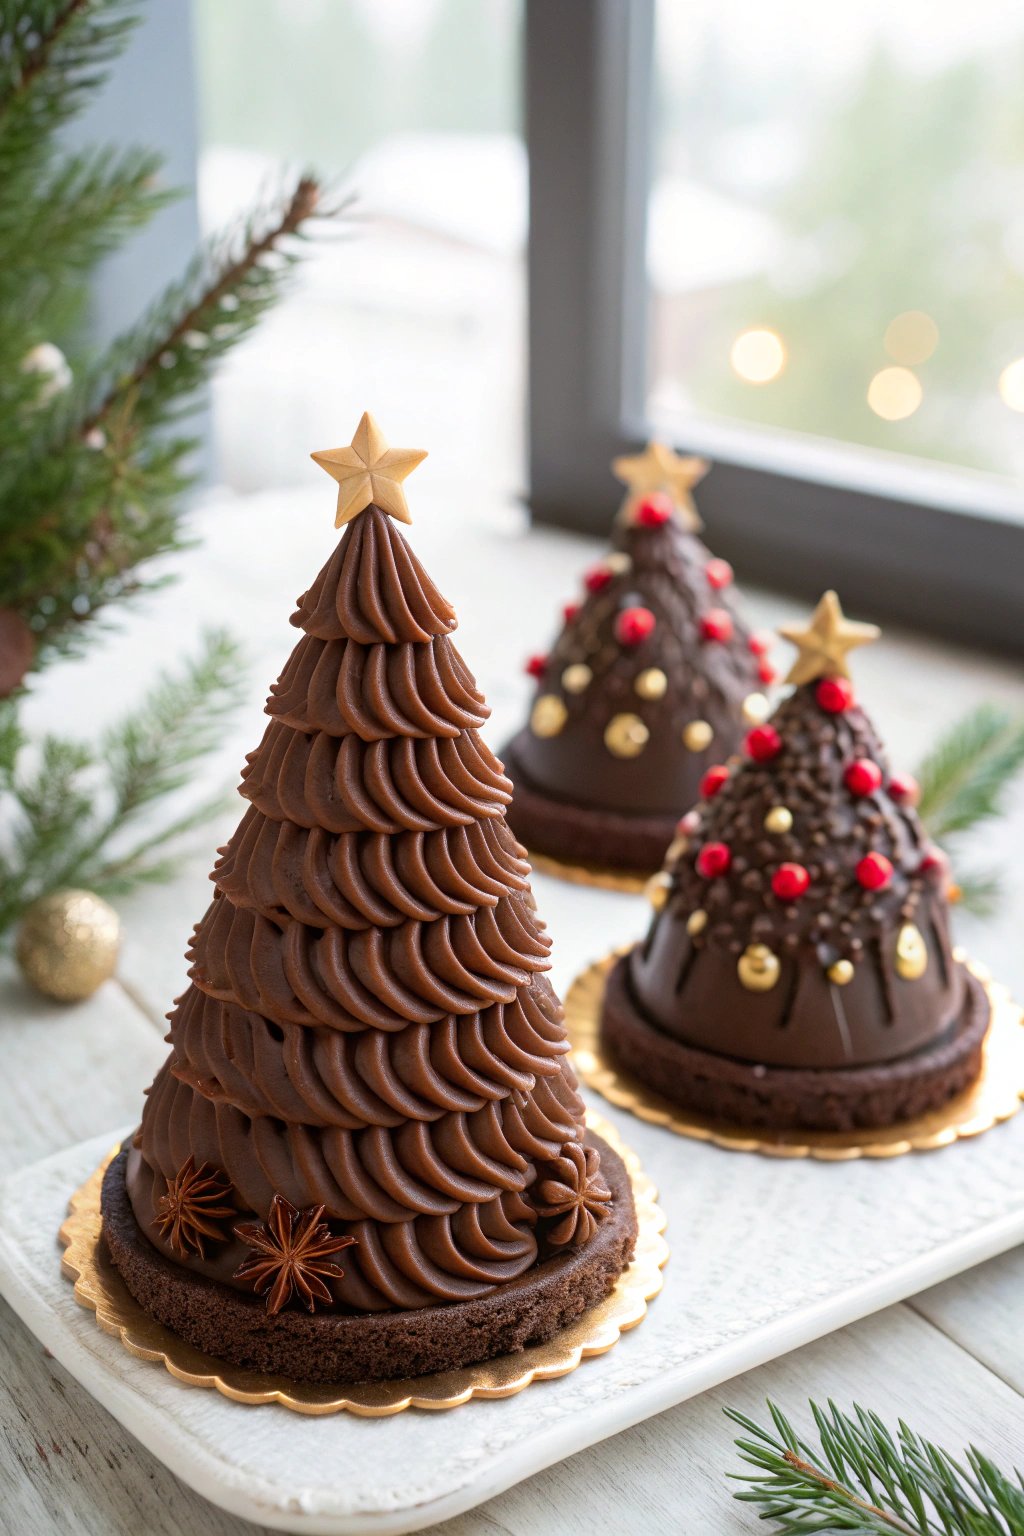
My Annual Christmas Tree Cake Adventure!
You know, every year my kids start asking for these chocolate Christmas tree cakes around, oh, November 1st? It’s become such a thing in our house! The first time I ever tried making them, gosh, they looked more like sad, slightly lopsided green blobs than actual Christmas trees. Ha! But we slathered them in sprinkles and ate every last crumb anyway. Now, after many (many!) attempts, they’re a holiday staple, and I’ve pretty much got the hang of making these little festive chocolate cakes look like actual trees. Mostly. They’re just so fun!
So, Why Bother With These Little Trees?
Honestly, I make these chocolate Christmas tree cakes when I need a guaranteed crowd pleaser. The kids go absolutely bonkers for them (I mean, it’s chocolate! And sprinkles! What’s not to love?!). And they’re actually not as fiddly as they might seem, especially once you get into a rhythm. Plus, they make the whole house smell like pure Christmas magic. My biggest hurdle, for ages, was getting the green icing just right – too runny and it’s a slippery mess (been there!), too thick and it just won’t pipe properly. (Took me a good few Christmases to nail that one!).
What You’ll Need (No Fancy Stuff, Promise!)
Here’s what I usually grab form the pantry:
For the Cakes:
- Flour: Just regular all purpose flour is totally fine. I’ve used cake flour when I’m feeling extra, and it does make them a bit more tender, but honestly, not essential. I often use King Arthur Baking’s All-Purpose Flour, seems to give consistent results.
- Sugar: Granulated sugar, the usual suspect.
- Cocoa Powder: The unsweetened kind. Good quality definitely makes a difference in taste, like Valrhona if you’re feeling fancy, but your bog standard supermarket brand works in a pinch.
- Baking Soda & Baking Powder: For the all important fluff!
- Salt: Just a little pinch to balance the sweetness.
- Eggs: Large ones are best, if you have them.
- Milk: Whole milk is my go to, but I’ve totally used 2% when that’s all that was in the fridge.
- Vegetable Oil: Or any neutral tasting oil like canola or sunflower.
- Vanilla Extract: The good stuff if you can splash out, but any will do.
- Hot Water or Hot Coffee: Coffee really, really deepens that chocolate flavour, its my secret weapon!
For the Frosting & Decoration:
- Butter: Unsalted, and make sure it’s properly softened. Not melted, mind you! That’s a rookie error I’ve made.
- Powdered Sugar: Also known as confectioners’ sugar. Sifted, if you’re feeling particularly patient (which, spoiler alert, I rarely am).
- Green Food Coloring: Gel food coloring gives the best, most vibrant green without making the frosting watery.
- Vanilla Extract: A little more for the frosting.
- A splash of Milk or Cream: Just a tiny bit to get the frosting to that perfect, spreadable consistency.
- Sprinkles! Lots and lots of sprinkles. Nonpareils, jimmies, sugar pearls, go wild! My cat once got into the sprinkles, that was a fun cleanup. Anyway…
- Optional: Little candy stars for the top of the trees, or even a dusting of edible glitter because, well, why not? It’s Christmas!
Alright, Let’s Bake Some Trees!
- Get Ready: First things first, get your oven preheating to 350°F (that’s about 175°C for my friends across the pond). Grease and flour your cake pan – I usually use a standard 9×13 inch one. Or, even better, line it with parchment paper, which is a lifesaver for cleanup, lets be honest.
- Dry Stuff: In a nice big bowl, whisk together the flour, sugar, cocoa powder, baking soda, baking powder, and salt. Get it all nice and combined, no big lumps.
- Wet Stuff: In a separate bowl (or a large measuring jug, less washing up!), beat the eggs a bit, then stir in the milk, oil, and vanilla extract.
- Combine ‘Em: Pour the wet ingredients into the dry ingredients and mix with a spatula or wooden spoon until *just* combined. Seriously, don’t overmix here! A few lumps are perfectly okay, actually. It’s a common mistake to overbeat cake batter, and it can make your lovely chocolate christmas tree cakes a bit tough.
- The Secret Hot Liquid: Okay, now carefully stir in the hot water or hot coffee. The batter will look quite thin, almost watery. Don’t panic! This is totally normal and it’s what makes the cake super duper moist.
- Bake Time: Pour that lovely, thin batter into your prepared pan. Pop it in the oven and bake for about 30-35 minutes. You’ll know it’s done when a skewer or toothpick inserted into the center comes out clean (or with a few moist crumbs, that’s good too). Every oven is a bit of a diva and has its own quirks, so maybe start checking around the 30 minute mark.
- Cool It: Let the cake cool in the pan for about 10-15 minutes. Then, carefully flip it out onto a wire rack to cool completely. And I mean *completely*. Trying to frost a warm cake is just asking for a melty, slidy disaster, believe me, I’ve been there.
- Tree Time!: Once the cake is totally cool, this is where the real fun begins. You can use a tree shaped cookie cutter if you have one. If not, no biggie! Just carefully cut out triangle shapes with a sharp knife. If you’re freehanding it, it can help to make a template **form** a piece of card first, just to keep them somewhat uniform. My first few hand-cut attempts were… charmingly rustic, let’s say.
- Whip Up the Frosting: While the cake cools, or after, make the frosting. In a bowl, beat the softened butter with an electric mixer (or by hand if you’re feeling strong!) until it’s light and fluffy. Gradually add the powdered sugar, beating well after each addition. Then, beat in the vanilla extract. Add your green food coloring a little at a time until you get the perfect Christmas tree shade. If the frosting is too stiff, add a tiny splash of milk or cream (like, half a teaspoon at a time) until it’s a good spreading or piping consistency. This is where I usually sneak a taste. You know, for quality control purposes, obviously.
- Decorate!: Now, frost your little chocolate christmas tree cakes! You can pipe the frosting on with a star tip for a classic look, or just spread it on with a knife or small offset spatula. Then, unleash the sprinkles! Go absolutely wild. A little yellow star sprinkle or a small candy on top of each tree is super cute for the ‘star’.
My Little Notes & Discoveries
- Definitely don’t overbake the cake, or it’ll end up dry. It’s better to err on the side of slightly underbaked, as it’ll continue to cook a tiny bit as it cools on the rack.
- If you don’t have a tree shaped cookie cutter, don’t sweat it. Triangles are perfectly fine, and once they’re green and covered in sprinkles, everyone totally gets the Christmas tree vibe. My kids actually say they prefer the wonky, hand-cut ones sometimes; they have more ‘character’.
- That coffee in the cake batter? Seriously, give it a go. You don’t really taste “coffee” coffee, just a much richer, deeper chocolate flavor. It’s a game changer!
- Oh, and speaking of cake, sometimes I get my inspiration for new holiday treats from browsing sites like Smitten Kitchen – Deb always has something amazing and usually pretty achievable!
Wanna Mix It Up a Bit? (My Experiments)
- Peppermint Chocolate Trees: Add about a quarter teaspoon of peppermint extract to the cake batter and maybe a tiny smidge to the frosting too. So Christmassy and fresh!
- White Chocolate Snow Drizzle: Once your trees are frosted green, melt a little white chocolate and drizzle it over them for a lovely “snowy” effect. This one’s a definite winner and looks so pretty.
- Spice Cake Base Attempt: I once tried making these with a spice cake base instead of chocolate, thinking it would be super festive. It… wasn’t my favorite for *these* particular cakes, to be honest. The chocolate is just so classic and perfect for the tree look. But hey, you never know until you try, right? Some experiments are more successful than others!
Gear Up! (Or Don’t, It’s Cool)
- A 9×13 inch baking pan. Pretty standard.
- Mixing bowls, a whisk, a spatula – the usual baking suspects.
- A tree-shaped cookie cutter is optional, but it does make things a bit quicker and more uniform. If you don’t have one, a sharp knife and a steady hand will absolutely do the trick. I managed for years without one, though they do look a bit neater with a cutter.
- A piping bag and a star tip are also optional if you want that swirly frosting look. But honestly, you can just spread the frosting on with a regular knife, and they’ll still be delicious and cute.
How Long Do These Beauties Last?
These chocolate christmas tree cakes are definitely best eaten fresh, ideally within a day or two. If you do have leftovers (unlikely!), store them in an airtight container at room temperature. Though honestly, in my house, if there are any of these little trees left by day two, its a Christmas miracle! They just disappear.
How We Eat ‘Em ‘Round Here
They’re just perfect with a big glass of cold milk or a cozy mug of hot cocoa. We always make a huge batch for our Christmas Eve movie night marathon – it’s a non negotiable family tradition! They also look super cute arranged on a big platter if you’re having people over for a holiday get together.
Learn From My Mistakes (Pretty Please!)
- Cool That Cake Completely: I know I’ve said it before, but I’m saying it again because it’s SO important. I once tried frosting them when they were still just a tiny bit warm, and the frosting just melted and slid right off. What an absolute mess! Patience is key, my friend.
- Sift the Powdered Sugar (If You Can Be Bothered): Okay, I admit I often skip this step when I’m in a hurry. But if you want *really* super smooth frosting, especially if you’re planning on piping it, sifting the powdered sugar does make a noticeable difference. Fewer annoying lumps to clog up your piping tip.
- Gel Food Coloring for the Win: For that really vibrant, Grinch-green Christmas tree color, gel food coloring is your best friend. Liquid food coloring can sometimes make the frosting a bit thin or watery if you need to add a lot to get the color right. I learned that the hard way one year with some rather pale, sad-looking trees.
Your Burning Questions, Answered!
- Can I make the cake part ahead of time?
- Yep! You totally can. Bake the cake as directed, let it cool completely, then wrap it really well in plastic wrap. It’ll be fine at room temperature for a day, or you can even freeze the whole uncut slab for longer (just thaw it completely at room temp before you try to cut and frost it).
- My frosting is too runny/stiff! Help! What do I do?
- No worries, it happens to the best of us! If it’s too runny, just add a bit more powdered sugar, maybe a tablespoon at a time, and beat it in until it thickens up nicely. If it’s too stiff and hard to spread, add a tiny splash of milk or cream (literally, like half a teaspoon at a time, go slow!) and beat until it loosens up to the consistency you want.
- Can I use a different kind of frosting for these chocolate christmas tree cakes?
- Absolutely! Cream cheese frosting would be delicious, or even a simple chocolate ganache if you want double chocolate. Though, for that classic Christmas tree look, a green buttercream is kinda the star of the show. But you do you! Baking should be fun, so experiment!
- What if I don’t have any hot coffee on hand?
- Just use hot water instead! The coffee just gives the chocolate cake an extra little oomph in the flavor department, but hot water works perfectly great too and still makes a wonderfully moist cake.
- My kids really want to help, any tips for baking with them?
- Oh, definitely get them involved! Sprinkling is THE BEST kid job ever invented, they love it. They can also help with measuring and mixing the dry ingredients (with a bit of supervision, of course). Just, you know, embrace the inevitable chaos and extra mess. And maybe have some extra sprinkles on hand for those “accidental” spills directly into their mouths. It’s all part of the fun and making memories, right?!